
How To Draw A Spaceship: A Step By Step Guide For Kids
Buckle up on an intergalactic adventure to learn how to draw an awesome spaceship!
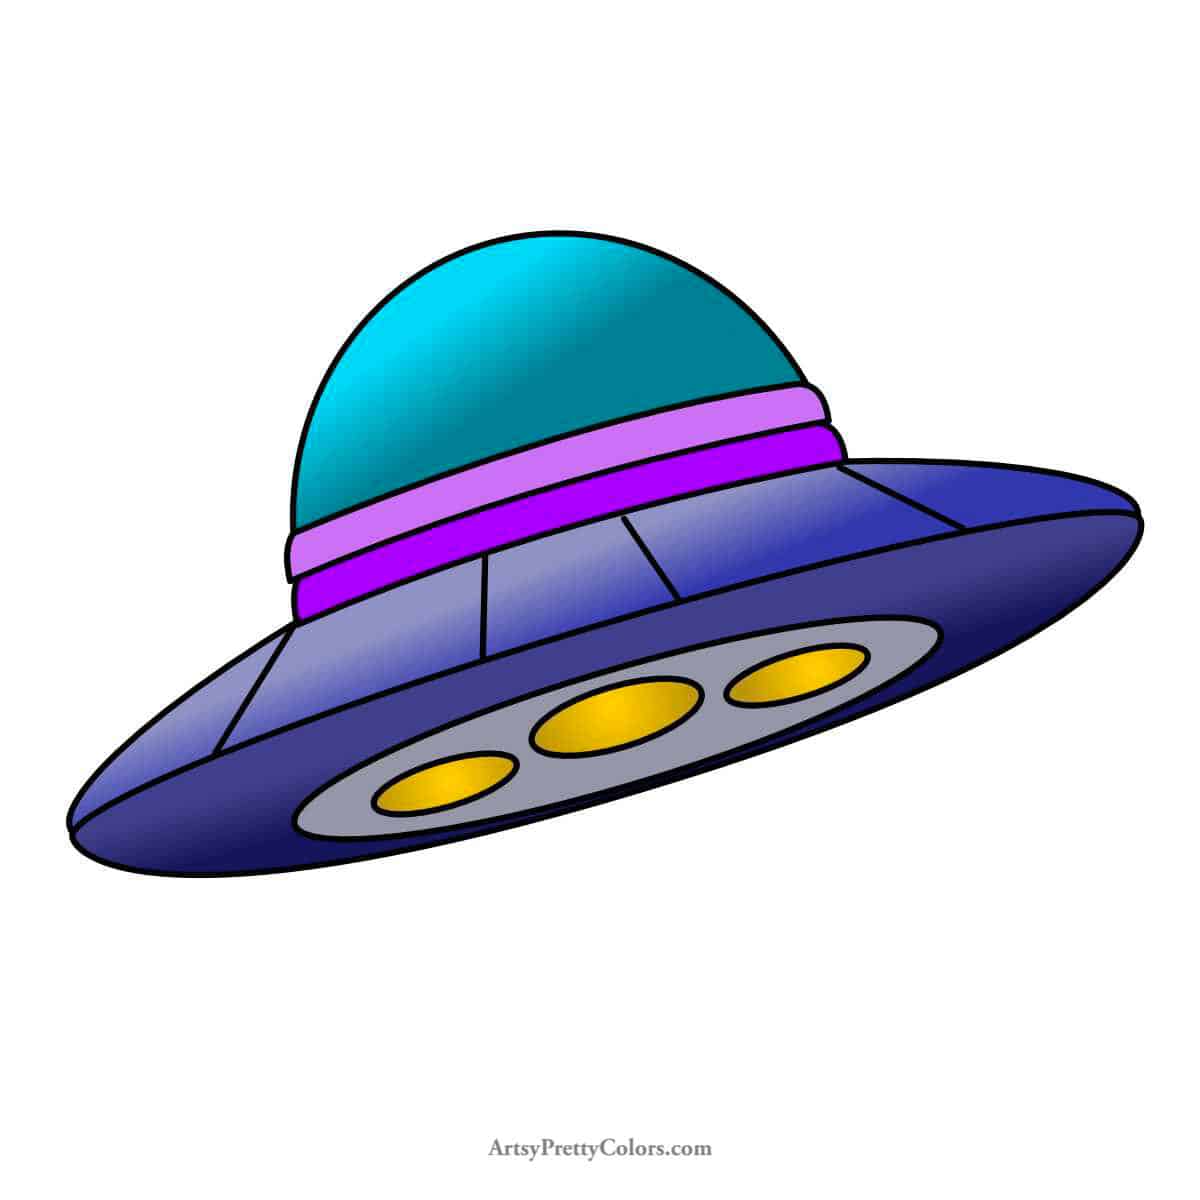
This step-by-step drawing tutorial will show you how to bring a UFO to life using simple shapes.
By the end of this lesson, you’ll have the skills to draw this fun alien spacecraft.
If you let your creativity run wild, perhaps you can even design a spacecraft that is uniquely your own!
But before we launch into the tutorial, check out our other fantastic drawing tutorials, including drawing a half moon, an easy mushroom and a bolt of lightning.
And if you’re hungry for more drawing tips and tricks, you may want to read up on our helpful article on improving your drawing skills through practice.
So, gather your trusty drawing materials, and let’s blast off into this alien adventure.
Drawing Supplies You’ll Need
- Pencil
- Eraser
- Piece of paper
- Pencil sharpener
Optional Materials
- Markers
- Crayons
- Colored pencils
How To Draw A Spaceship Step By Step

Step 1. Sketch the Spaceship’s Body
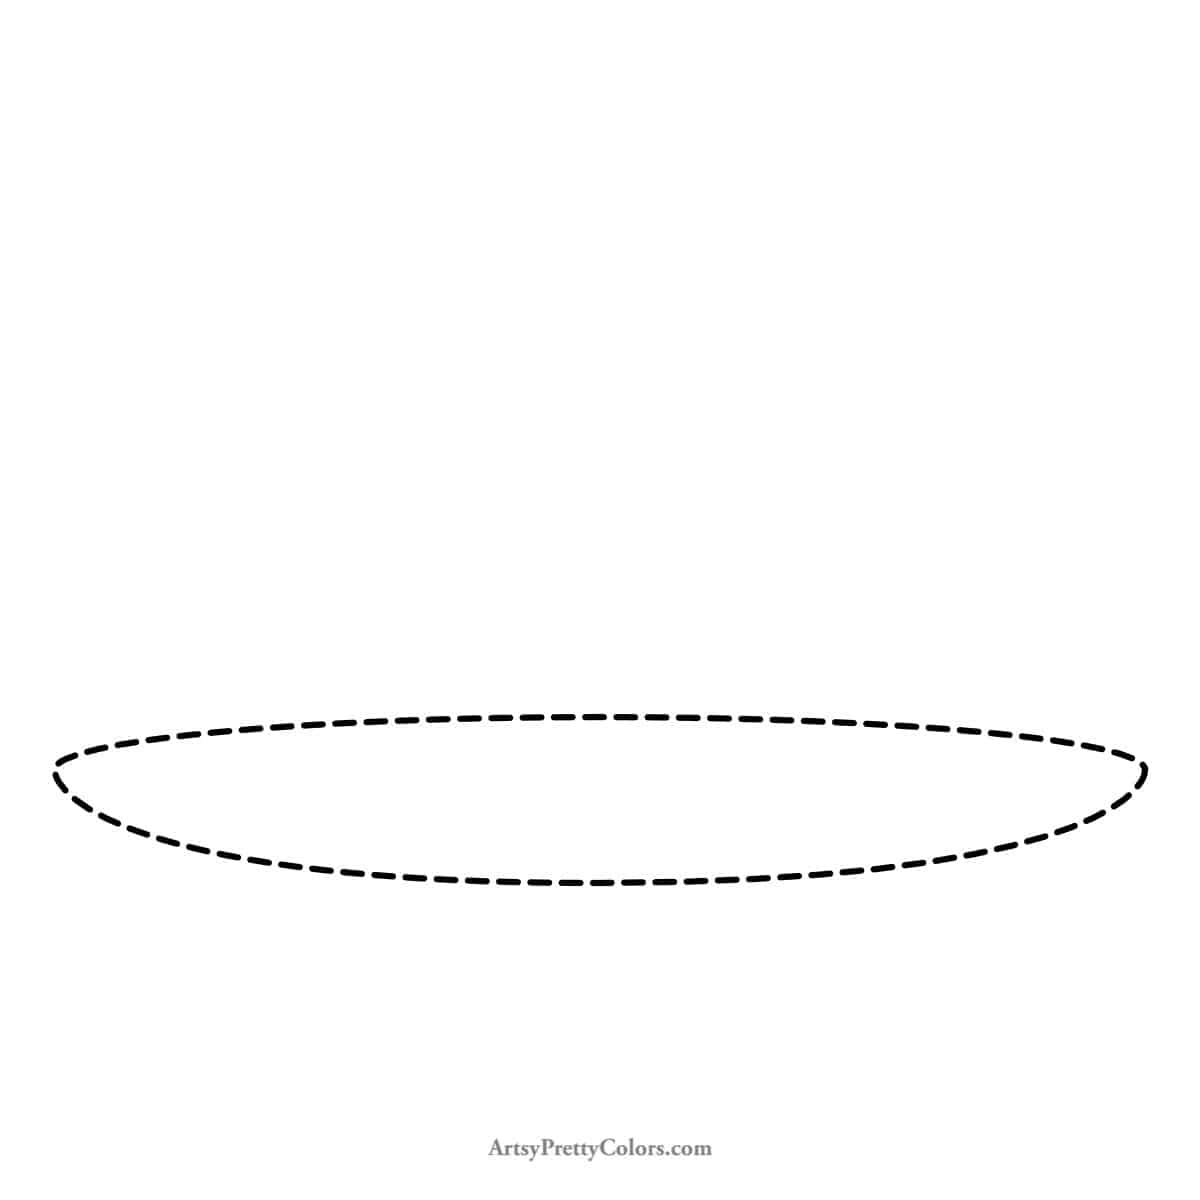
First, we’re drawing the central part of our spaceship. Start with a wide, slightly curved oval that looks like it’s smiling just a tiny bit. That’s going to be the body of your spaceship.
Make sure it’s short and wide, almost like a pancake that decided to stretch out a little.
Step 2. Add the Lower Cabin

Now, let’s give our spaceship a place for the pilot and crew. Draw two lines starting from the middle of the top and slanting outwards to the bottom.
They’re kind of like a slide that meets at a point on top. Remember to curve the bottom of these lines a bit, just like you did with the spaceship’s body.
Step 3. Draw The Pilot’s Window

Every pilot needs a window to see where they’re flying, right?
Let’s draw a big, round window in the middle of the spaceship
It’s not a full circle; think of it as a half-circle that decided to puff out its chest a bit.
Step 4. Add Perspective To The Vehicle’s Body

Spaceships aren’t flat; they need to zoom through space! We’re going to add some cool 3D effects with perspective lines.
Draw a small circle inside the pilot’s window, a bit down from the top. Then, draw lines from the sides of the spaceship to this circle to create the illusion that our spaceship has sides.
It’s like magic drawing lines that make things look real and three-dimensional!
Step 5. Clean Up The UFO Panel Details
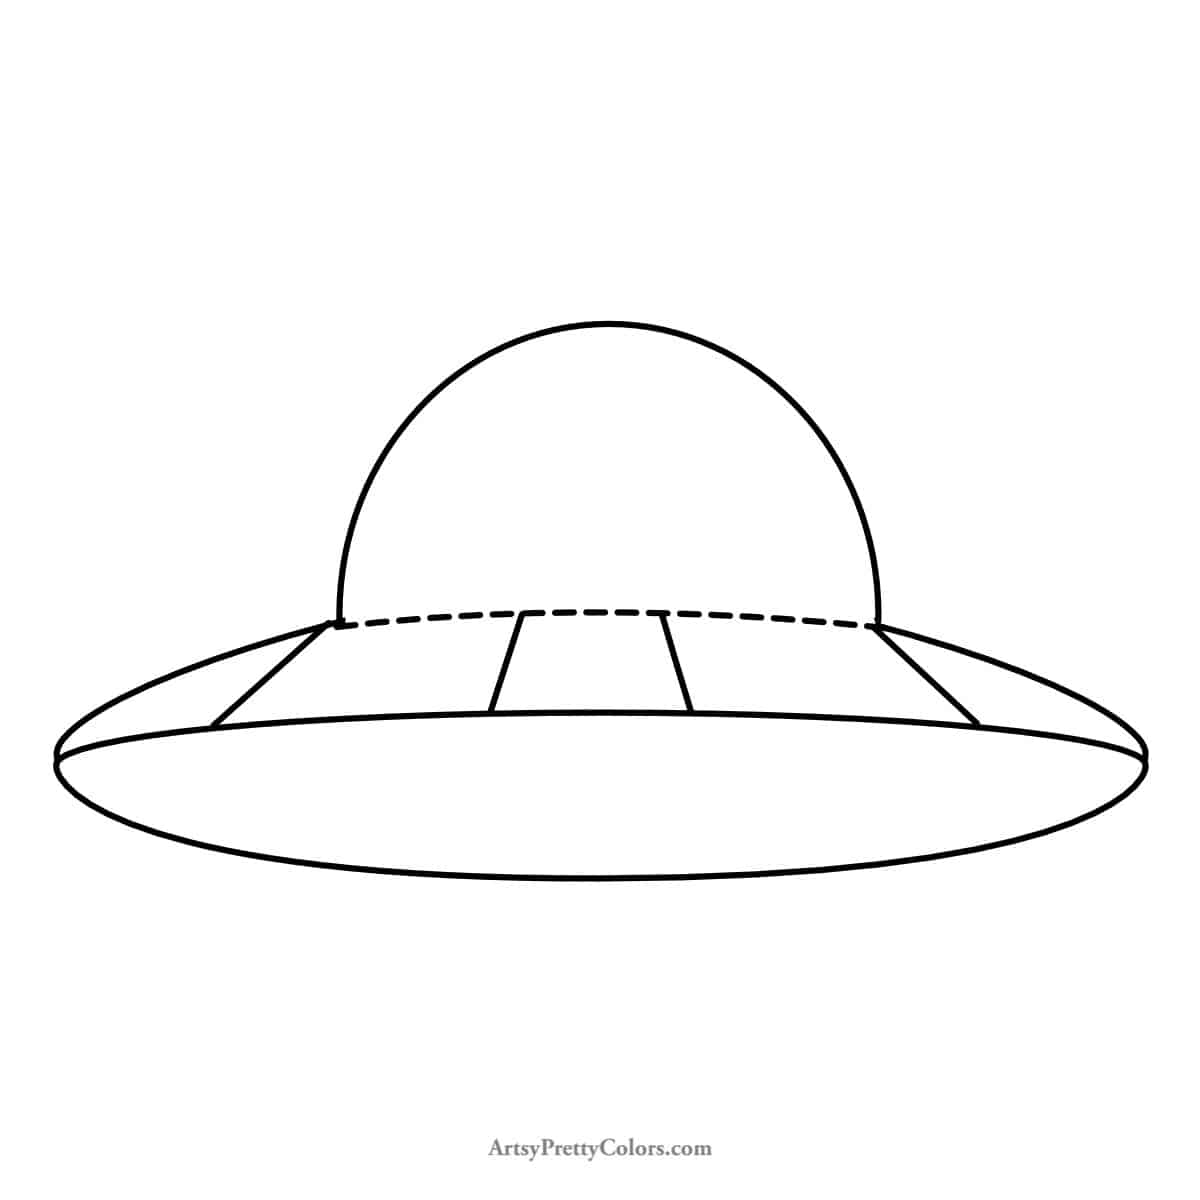
Now, grab your eraser. It’s time to tidy up. Erase any lines inside the pilot’s window and the upper cabin that we no longer need.
Then, connect the bottom of the pilot’s window with a slightly curved line to smooth everything out.
Step 6. Add The Spacecraft’s First Ring

Spaceships often have cool rings, right? Let’s draw one. Make a slightly curved line above the clean line you just drew.
This new line should stick out a little on each side of the window, giving it a ring that looks like it’s hugging the spaceship.
Step 7. Add Another Ring
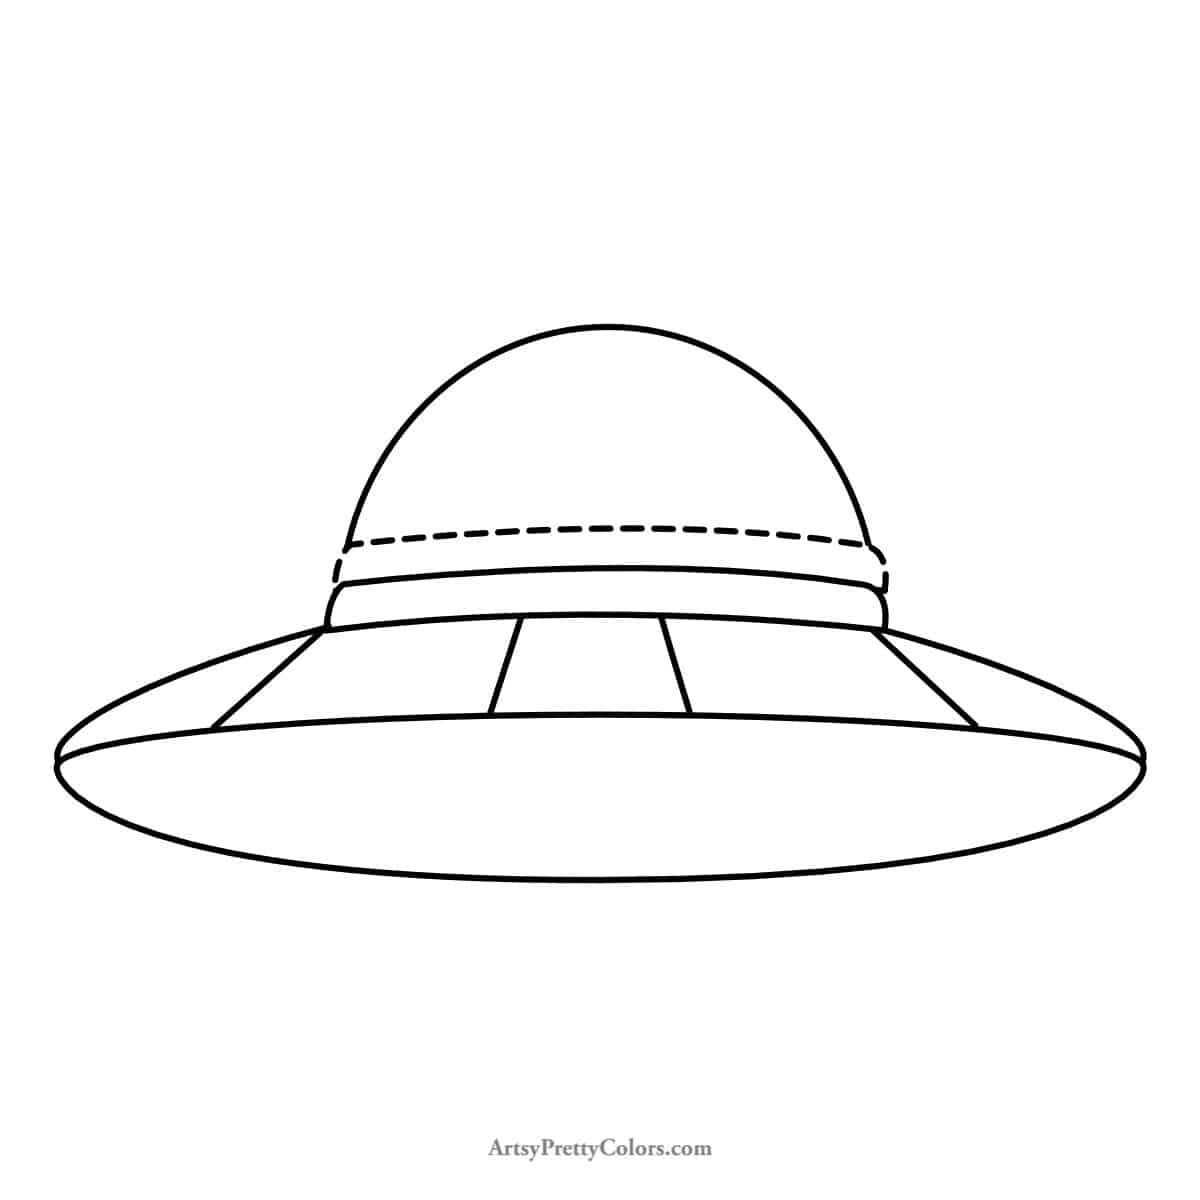
What’s better than one ring? Two rings! Do the same thing again, drawing another curved line above the first one.
Make sure it also sticks out a bit past the window, just like the first ring.
Step 8. Create The Light Area
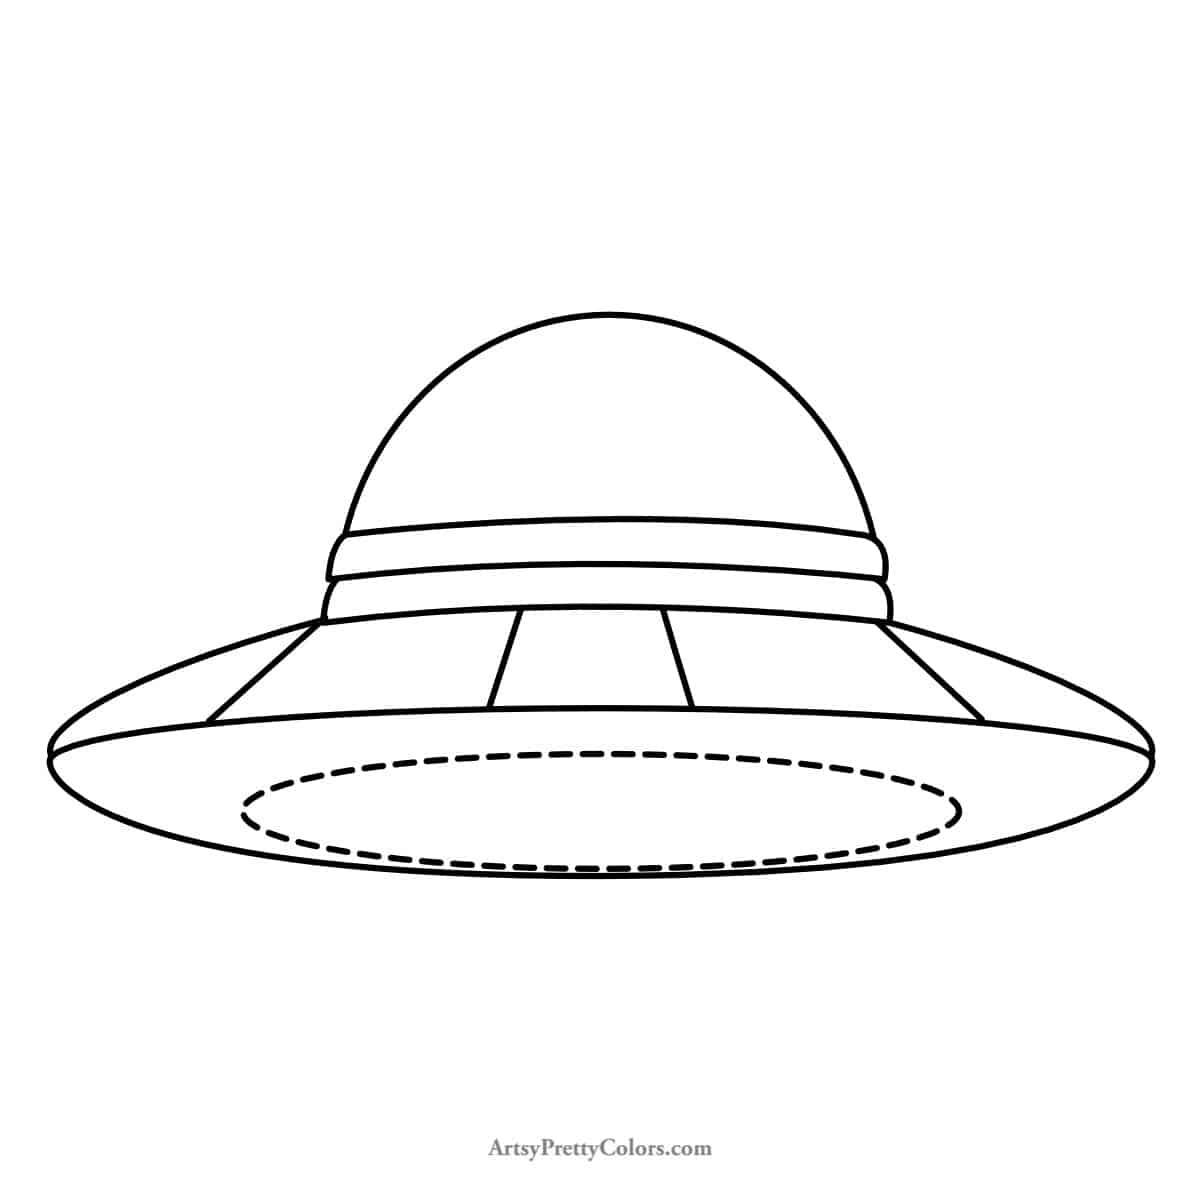
No spaceship is complete without some lights for landing.
Draw a small oval towards the back on the bottom of your spaceship. This is where our spaceship’s lights will go.
Step 9. Make The Light Beams
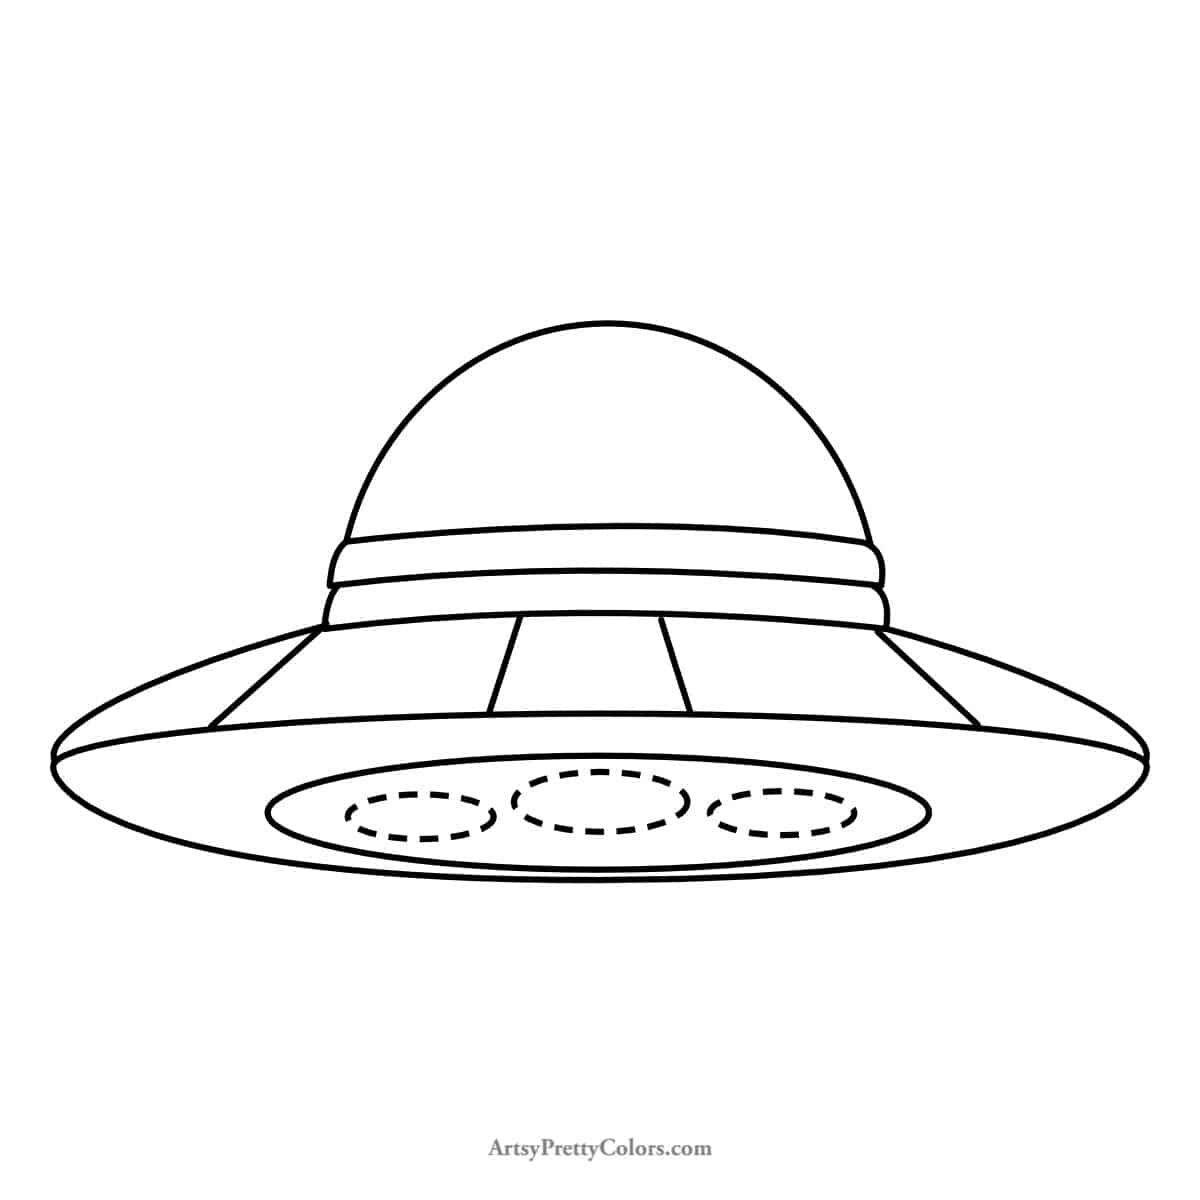
Add three more ovals for the lights inside the oval you just drew.
The one in the middle should be bigger and ahead of the other two, ready to light up the dark space!
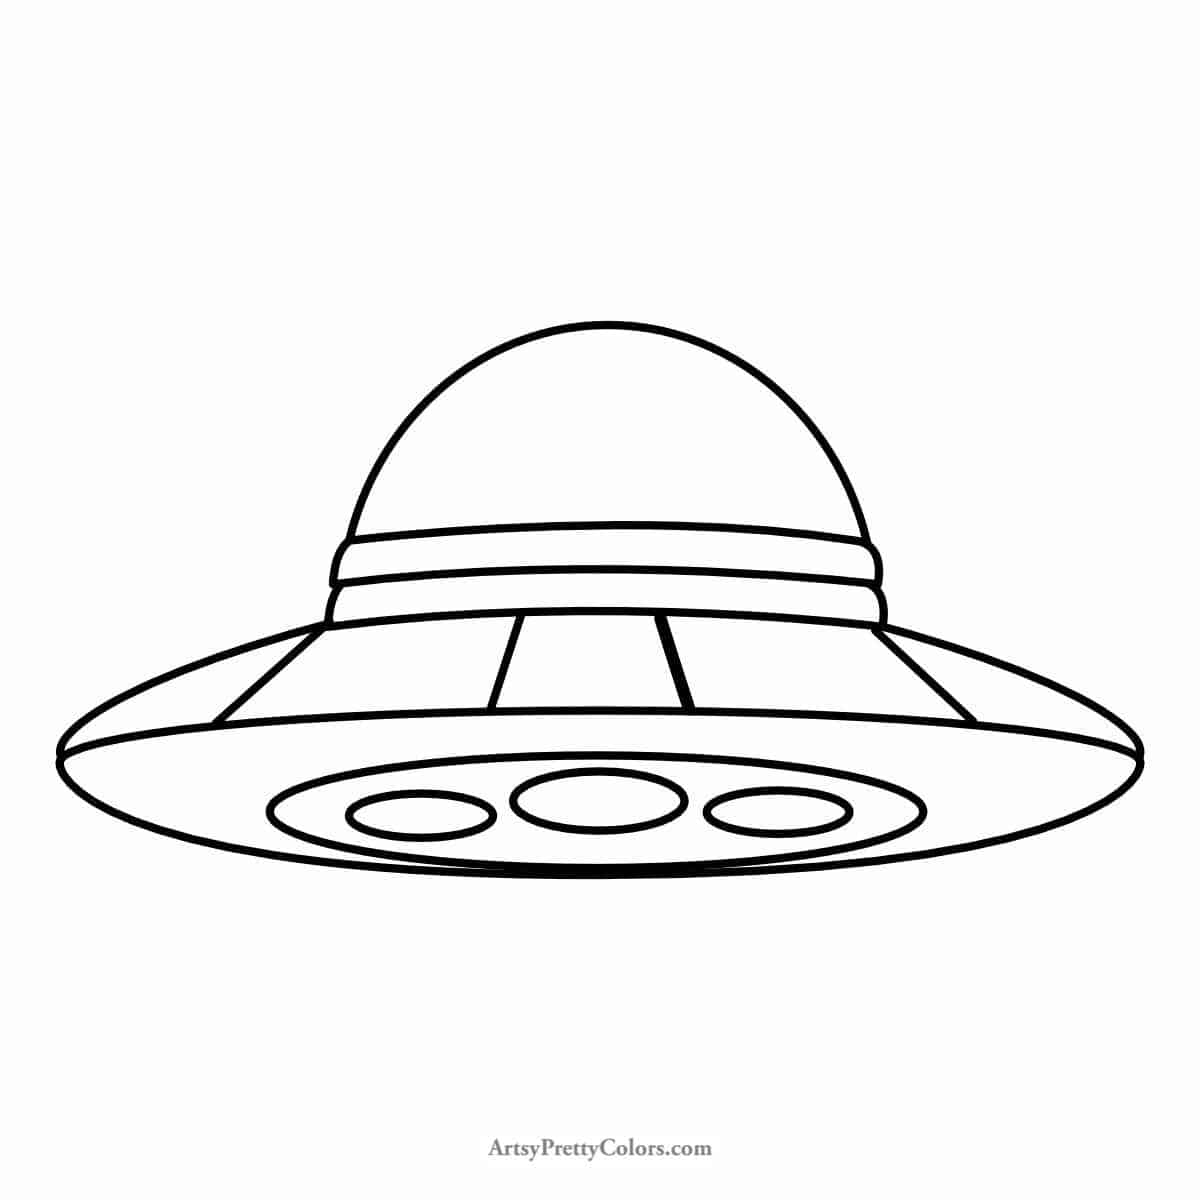
Optional: Add Your Finishing Details
Your spaceship is almost ready for takeoff! If you want, you can now add some extra details.
How about coloring it in, drawing some stars around it, or maybe even an alien or two?
Remember, your imagination is as vast as the universe, so have fun with it!
Or how about adding in planets and stars. There’s lots of great scenes you can add to a UFO drawing.
Rumors of unidentified flying objects have been around for over 100 years.
And it’s no wonder this phenomenon reaches so many curiosity seekers since alien spaceships are featured in television series and major motion pictures, like Star Trek and Star Wars.
The universe is so big, so there has to be someone out there, right? Do you believe?
Don’t forget to Pin it for later!

How To Draw A Spaceship- Easy Steps
How to draw a spaceship. Our tutorial will take you through the easy steps of how to make a spacecraft drawing by using basic shapes.
Materials
- Pencil
- Eraser
- Piece of paper
- Pencil sharpener
Tools
- Please see the full materials list above the tutorial for details and links.
Instructions
- Draw A long Oval To Start The Ship's Body
- Make Diagonal Lines For The Lower Cabin Portion Of The Body
- Draw A Partial Circle To Make The Pilot’s Cabin Control Window
- Add Perspective To The Spaceship’s Body
- Clean Up The UFO Panel Details And Erase Unnecessary Pencil Marks
- Draw The Ship's Rings With Long Curves
- Add A Second Ring
- Draw a Wide Oval On The Bottom To Create The Light Area
- Make The Light Beams
- Optional Step- Add Finishing Touches To The Spaceship By Coloring It And Adding Extra Elements