
How To Draw An Easy Frog –Simple & Fun!
Today, we will show you how to draw an easy frog in a few steps.
Whether you’re just starting out or you’ve been drawing for a while, this guide is perfect.
Plus, you can use these simple steps to create all sorts of super cool frogs, from cartoon buddies to hilarious ones that deserve a spot on your fridge or turned into a special card.
With a little bit of drawing every day, you’ll soon be able to make a frog that will impress everyone you know.

Don’t forget to check out how to draw other fun things like fish, ants, wasps, and even a wise owl after this!
Did you know? Our world is home to over 800 kinds of tree frogs, and they’re masters of hide-and-seek thanks to their camouflage skills!
Keep reading for more cool frog facts at the end of the tutorial. Now, let’s leap into our drawing!

Materials You’ll Need
- Pencil
- Eraser
- Sheet of paper
- Pencil sharpener
Pink and white erasers both work great. But white won’t leave behind red marks or streaks like a pink eraser will.
Also, it’s always good to have extra paper on hand so you can start over if needed.
Draw An Easy Frog Tutorial Guide

There are 8 steps to draw an easy frog (nine if you want to color it in). You’ll start with the head and work your way through the various parts of the frog.
Then, you’ll fill in the details and color it if you want.
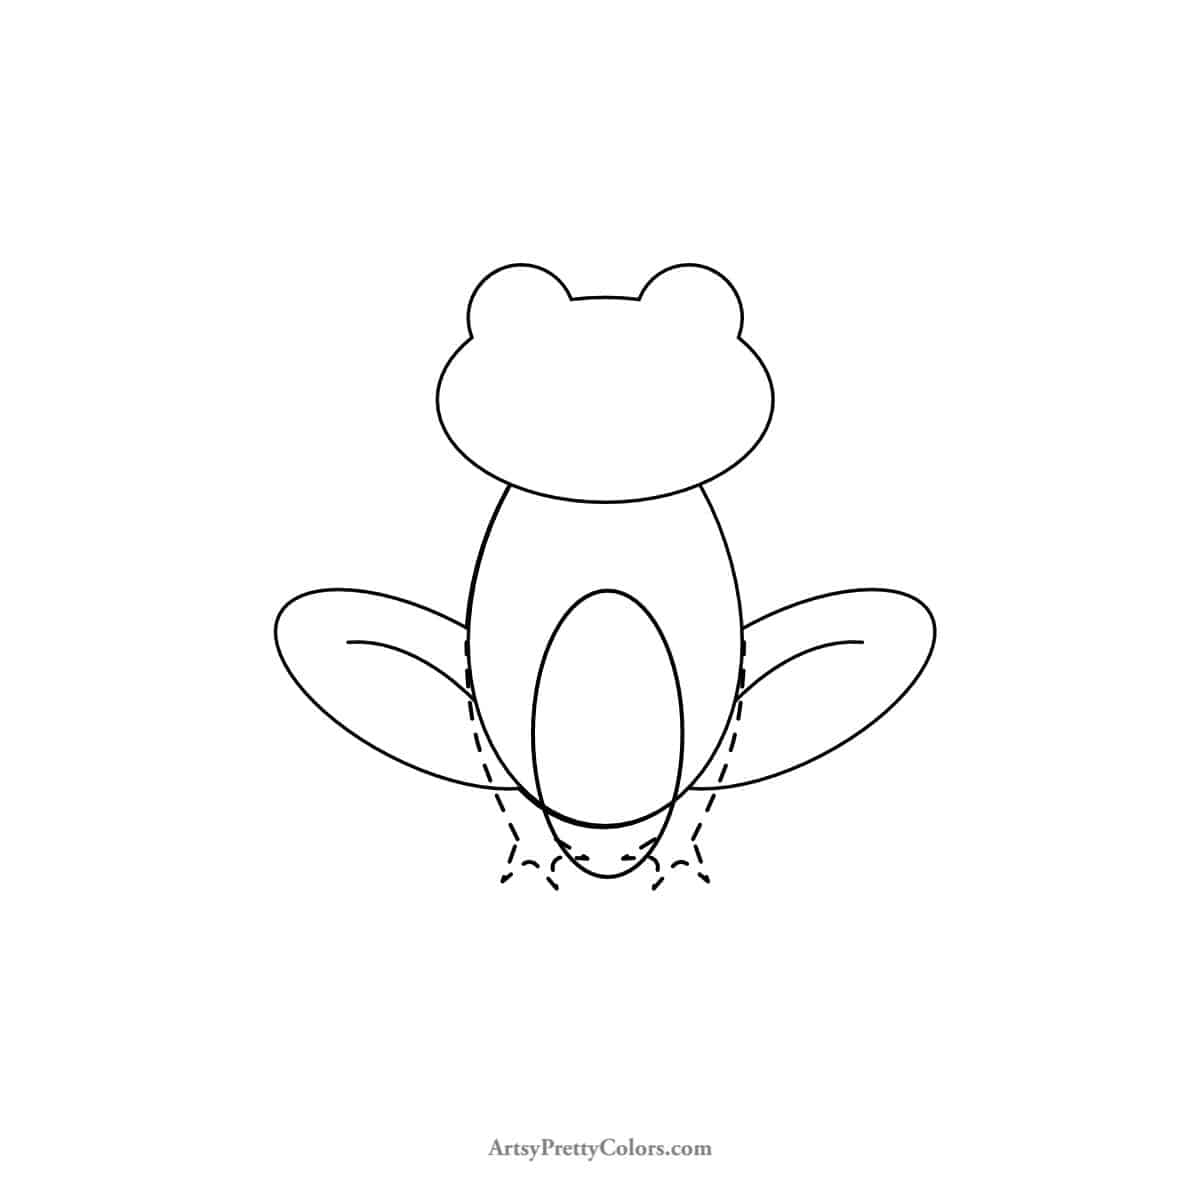
Step 1. Form The Body

First, draw an egg-like oval for the body. Then, add the frog’s head by drawing a sideways oval on top.
Step 2. Add The Back Legs

Now, draw a leg on each side of the body. These simple oval shapes attach to the body, adding personality to your frog.
Step 3. Sketch The Eyes

Frogs have big, beautiful eyes. Draw two large circles on the head to make your frog look alive.
Step 4. Create The Knee’s

Give your frog some knees by adding an oval on the body. This will make your frog look more real. Use smaller circles as guides to draw the knees.
Step 5. Add The Frog’s Arms
Add circles for the arms next. Your frog’s shape is really coming together now!
Step 6. Finish The Eyes

With a curved line, create the frog’s smiling mouth. Add small ovals inside the eyes for a spark of life.
Step 7. Draw The Webbed Feet
Draw the frog’s webbed feet with three pointed lines at the end of each leg. It’s easier than it sounds!
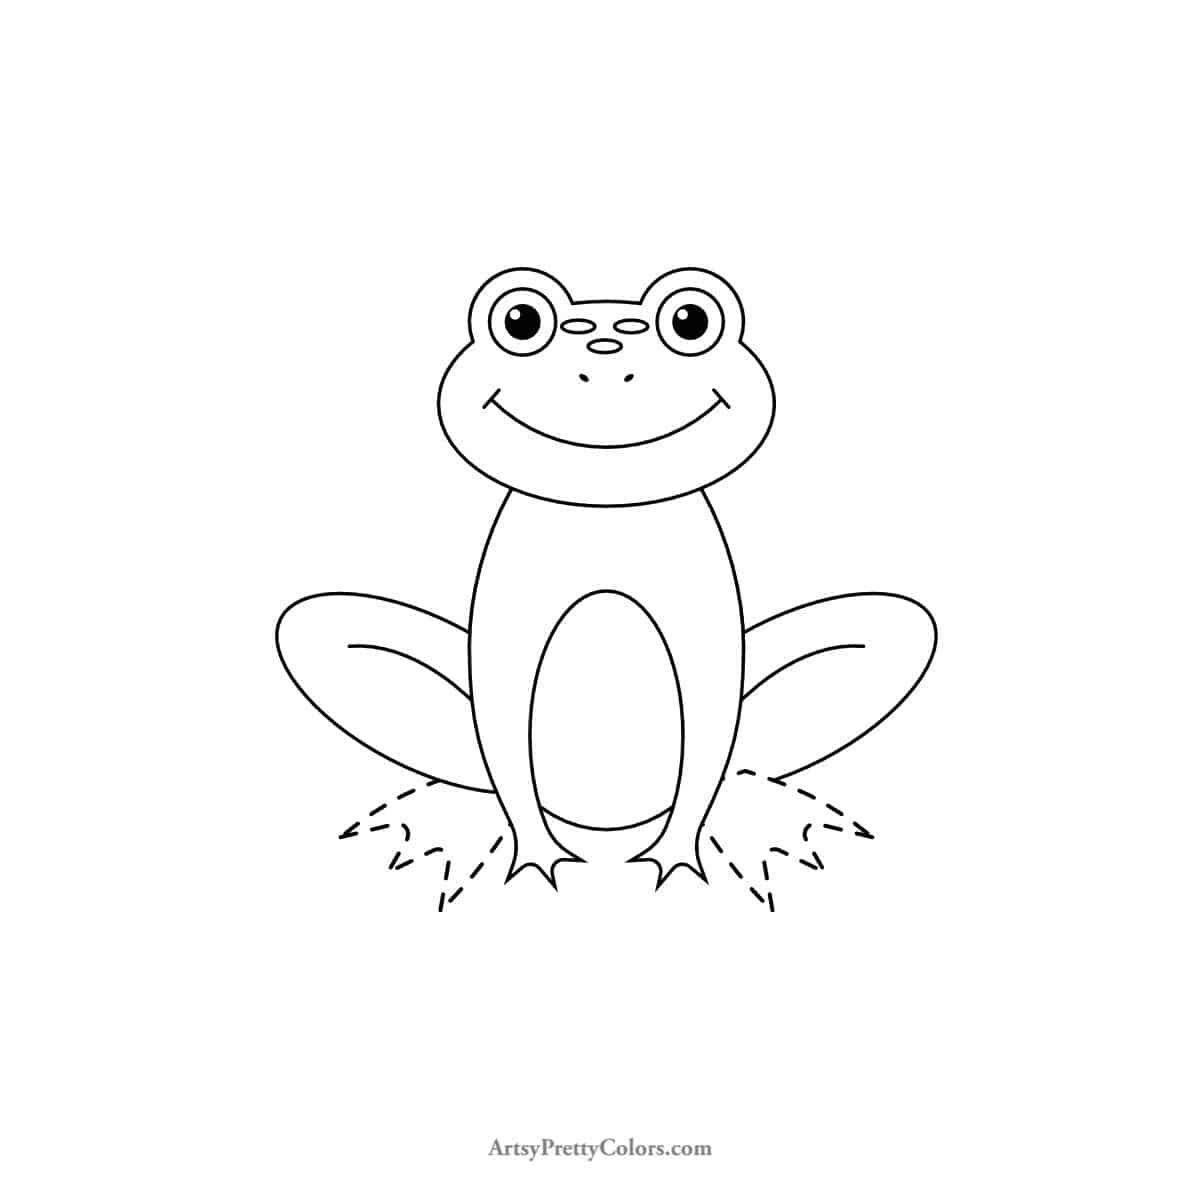
Step 8. Detail The Feet

Add some shading to the feet to make your frog stand out. Take your time, and remember, it’s all about having fun.
Step 9. Color Your Cute Frog –Optional
Feel free to color your frog in shades of green and yellow to bring it to life!
Fun Facts About Frogs
- Frogs drink through their skin and munch on worms, bugs, and even other frogs!
- Amphibians are cool in both ways: they have backbones and can live on land and in water.
- Watch out for brightly colored frogs; they might be dangerous.
- With over 5,000 frog species, our planet is hopping with diversity.
- Got frogs in your garden? Lucky you! They’re natural bug zappers, especially against mosquitoes.
And, speaking of mosquitoes, we have a drawing tutorial for those too!
Don’t forget to Pin it for later!
