
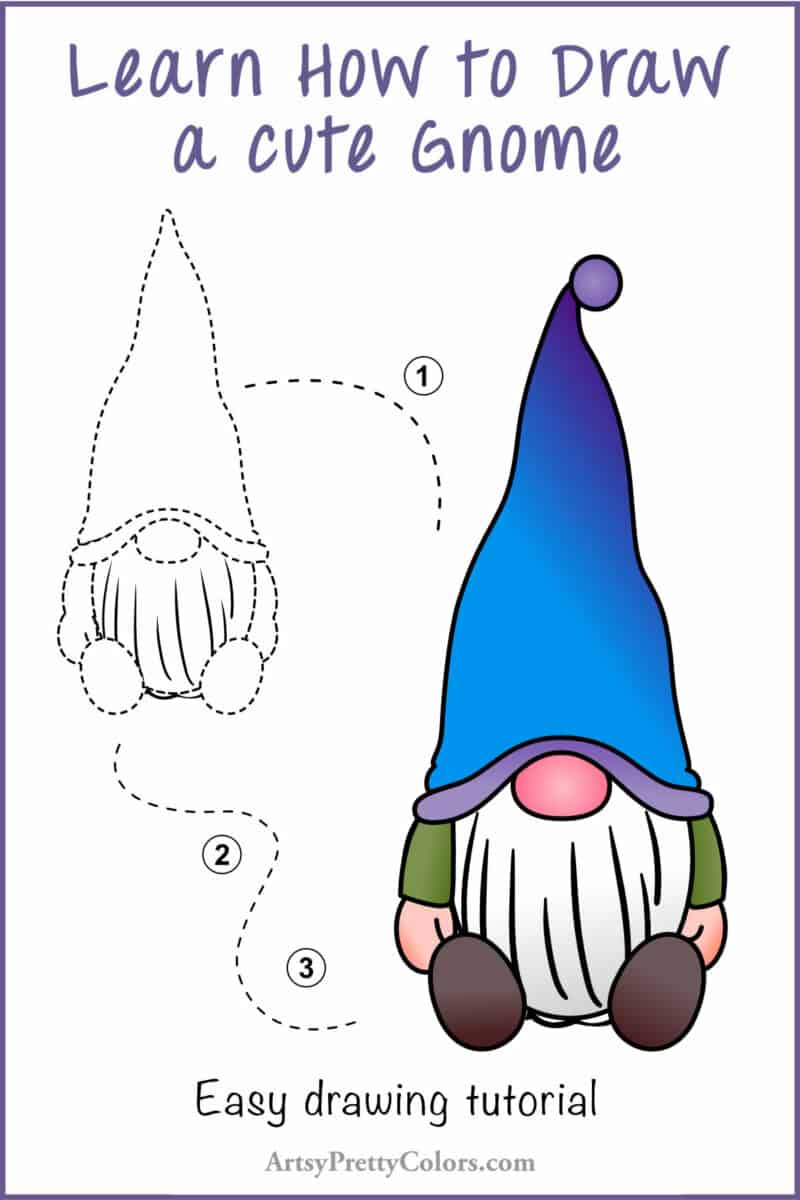
How To Draw A Gnome – A Step By Step Tutorial
Ready to draw a gnome? This guide is about creating simple shapes to transform into an adorable gnome, step by step!
You may have seen little statues of backyard gnomes with bushy beards and pointy hats, which have grown in popularity over the years.
Did you know some people believe gnomes bring good luck to people who encounter them? They’re not just cute; they’re lucky, too!

By the end of these steps, you’ll be great at drawing gnomes.
Plus, if you enjoy this, check out our tutorials on drawing mushrooms and enchanting moons, and check out our elf coloring pages and psychedelic coloring sheets at our sister site.
Drawing Supplies You’ll Need
- Sheet of paper
- Pencil
- Eraser
- Pencil sharpener
Optional Materials
- Crayons
- Markers
- Colored pencils
How To Draw A Gnome Step-By-Step Guide

Step 1. Draw The Gnome’s Head And Body

Start with an oval. This is your gnome’s head and body all in one!
Step 2. Create The Hat Shape
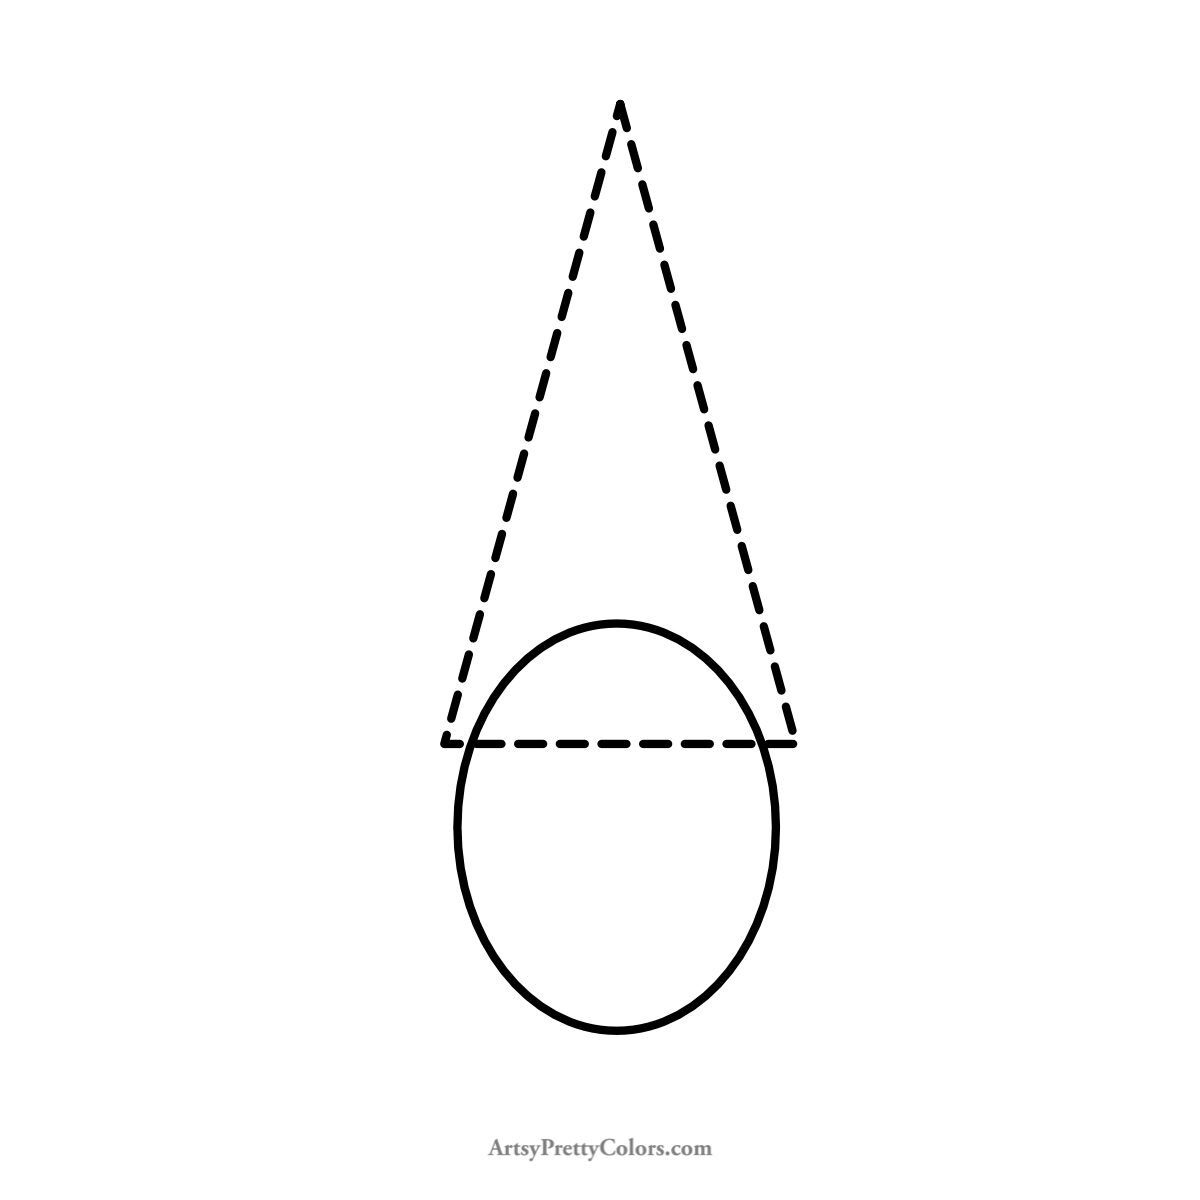
Draw a long triangle for the gnome’s tall hat on top of the oval. It should start about a quarter way down the oval.
Step 3. Add the Nose

First, erase the part of the oval that’s inside the triangle. Gnomes have their eyes hidden by their hats, but their noses?
Always visible. Draw a small, wide oval for the nose right in the middle at the bottom of the triangle.
Step 4. Shape The Hat And Eye Area

You won’t see the eyes, but the hat’s bottom fold suggests where they’d be.
Draw this fold as a curved line starting from the triangle’s widest part, swooping over the nose, and repeating on the other side.
Step 5. Draw The Cute Arms And Hands

The gnome’s arms are ovals. Connect them to the body right where the hat’s bottom droops.
Add another oval below each for the hands.
Step 6. Add The Feet
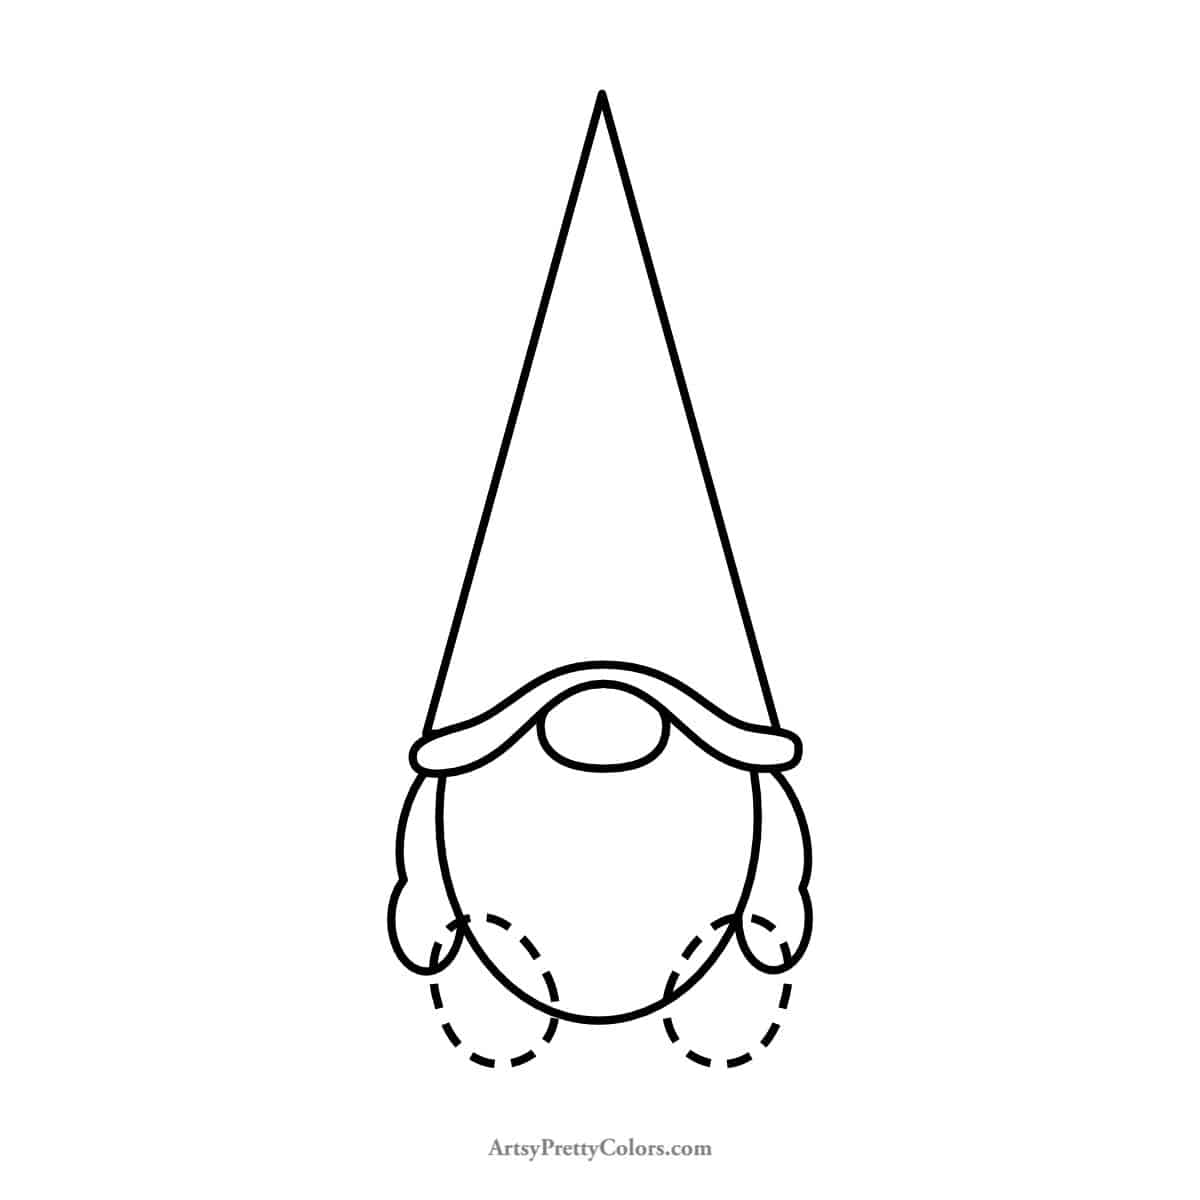
Erase any inside lines from the arms and hands first.
Then, draw an oval for each foot on the sides of the body, slightly overlapping the hands and angled outward.
Step 7. Create The Sleeves

Erase the tummy line that shows through the feet.
Add a horizontal line for the sleeve ends, angling slightly down towards the body, and draw a thumb line on each hand to make a mitten shape.
Step 8. Sketch The Gnome’s Beard
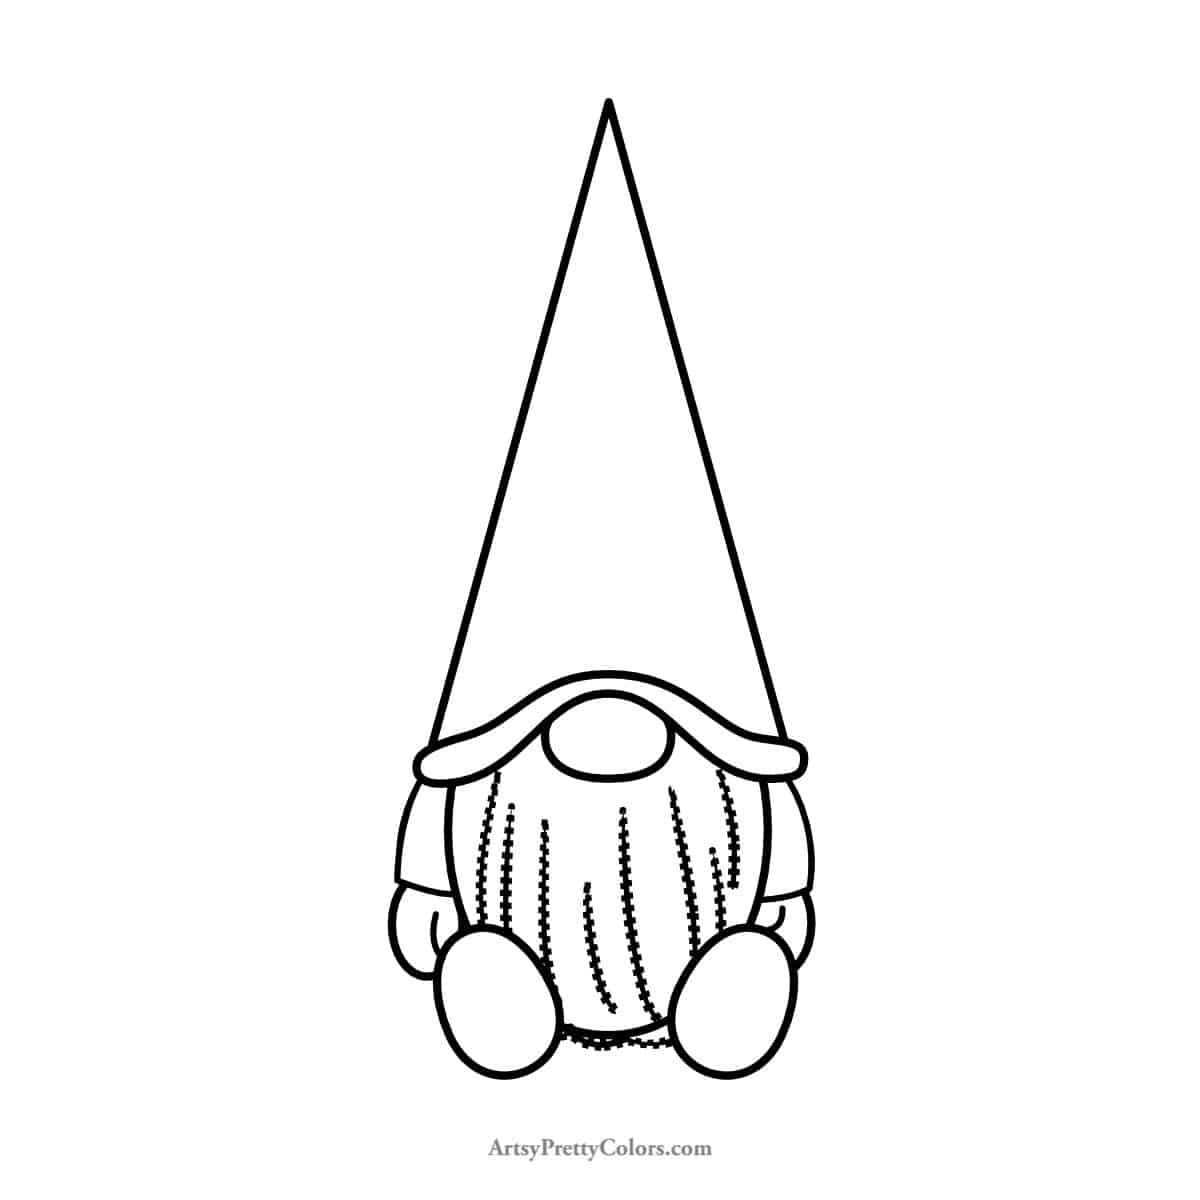
The beard is long and a bit wild. Add long curved lines for texture, starting from the hat’s fold and extending down, ensuring it looks full and slightly unkempt.
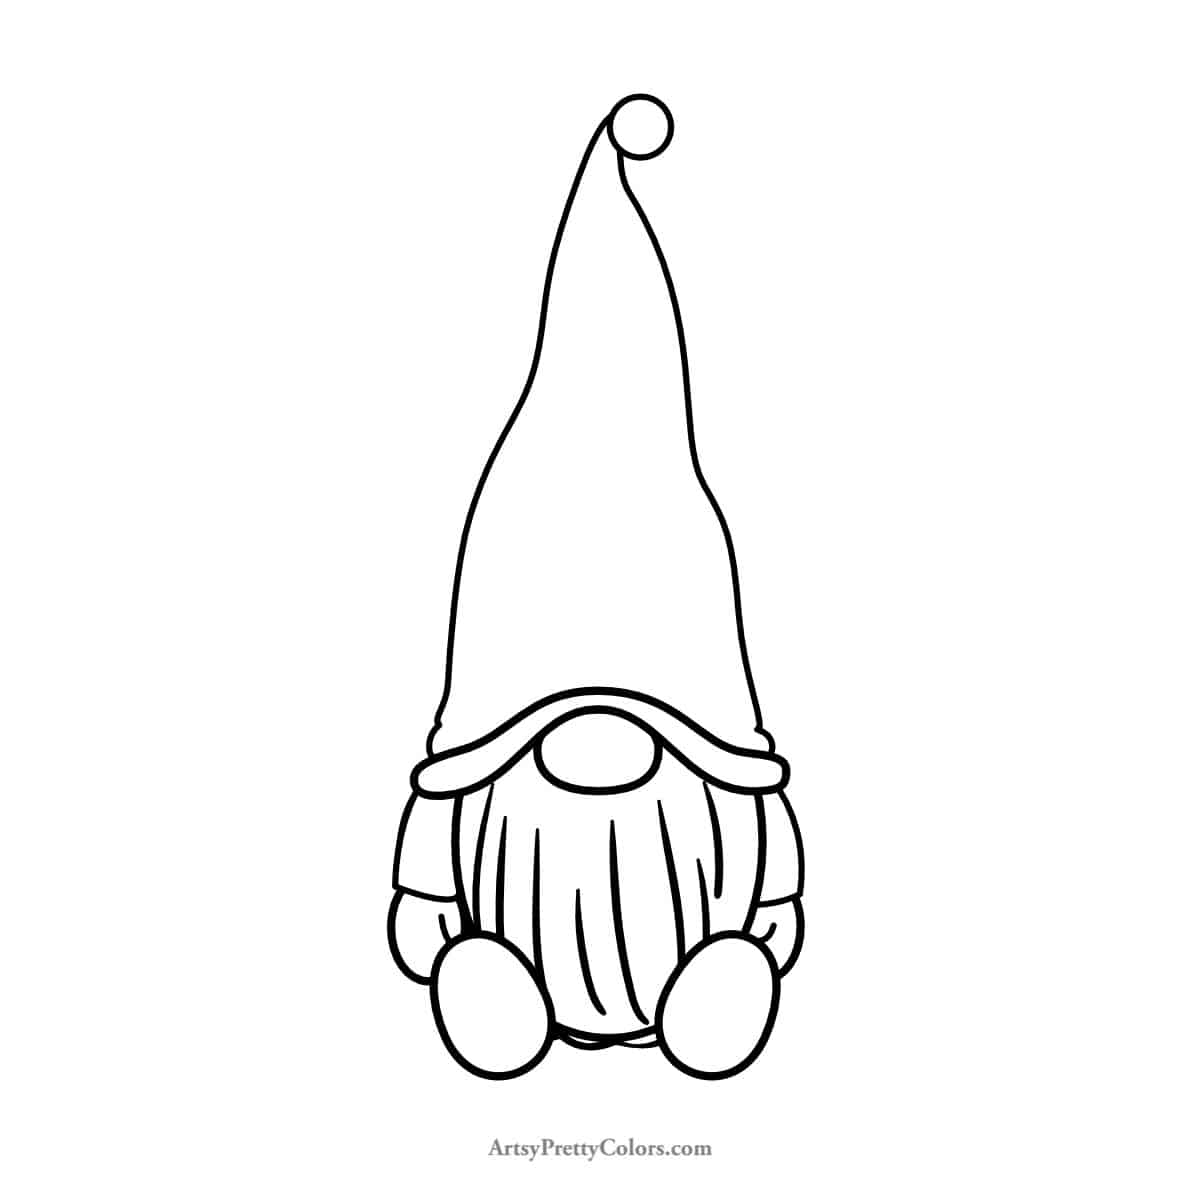
Step 9. Finalize The Hat Shape

Give the hat some personality with wavy lines along its sides. Add a circle at the top for the hat’s ball, then erase the straight lines inside the hat.
Step 10. Add Extra Elements (Optional)
Now for the fun part! Color your gnome, dress him up for the holidays to make a Christmas gnome, add a flower, or make him a garden gnome with a little fork.
Surround him with ponds, birds, or critters for extra whimsy.
Drawing a gnome is just breaking down shapes and adding your creative touches. Enjoy the process and make your gnome uniquely yours!
Don’t forget to Pin it for later!
How To Draw A Gnome Step By Step
You can easily learn how to draw a gnome in just a few steps by following our simple guide.
Materials
- Paper
- Pencil
- Pencil sharpener
- Eraser
Tools
- Please see the full materials list above the tutorial for details and links.
Instructions
- Draw The Head And Body Using An Oval Shape
- Create The Hat Shape Which Is A Tall Triangle
- Add the Gnome’s Nose By Drawing a Wide Oval
- Shape The Hat And Eye Area By Creating Curved Lines Over The Nose Area
- Draw The Arms And Hands By Making A Long Oval and Then A Short One
- Add The Cute Feet For The Which Are Two Rounded Ovals
- Create The Sleeves Where the Hands And Arms Meet
- Sketch The Beard Down To Almost The Ground
- Finalize The Hat Shape By Adding The Ball At The Top
- Add Extra Elements To Your Gnome Drawing (Optional)