
How to Draw an Ant
Today, we’re going to learn how to draw an ant. An ant is one of the tiniest but mightiest creatures around, and by the end of this tutorial, you’ll be able to capture their charm on paper.
Drawing might initially seem intimidating, but don’t worry because we have a secret: your ant is just a simple puzzle of basic geometric shapes.
And guess what? You can use these shapes to bring any creature or object to life on your canvas.
We’ve already done this by separating this amazing insect into the basic shapes for each step so you can quickly create your super cute ant.

But before we begin, let’s get your drawing tools ready.
Drawing Supplies You’ll Need
- Pencil
- Eraser
- Sheet of paper
- Pencil sharpener
A white eraser is ideal for erasing marks because it won’t leave a red mark or streaks like pink erasers tend to, but both will work!
Also, I like to have several sheets of paper in case I want to start over.

Another fun insect to draw is a mosquito. You may want to check that tutorial out, as well as these color by number pages with an ant and other bugs.
Take a look at our fun facts about ants below the tutorial!
After this drawing tutorial, why not explore more? You could also learn how to draw a mosquito or a wasp.
Or perhaps a cute bumblebee and a butterfly. Or dive into our color by number pages with caterpillars and other bugs.
So grab your drawing tools, and let’s get started.
How to Draw an Ant: Step by Step

There are 8 easy steps to drawing an ant. You’ll start with the head and work your way through the various parts.
Then end with filling in the details and coloring it if you want.
Step 1. Draw The Ant’s Head
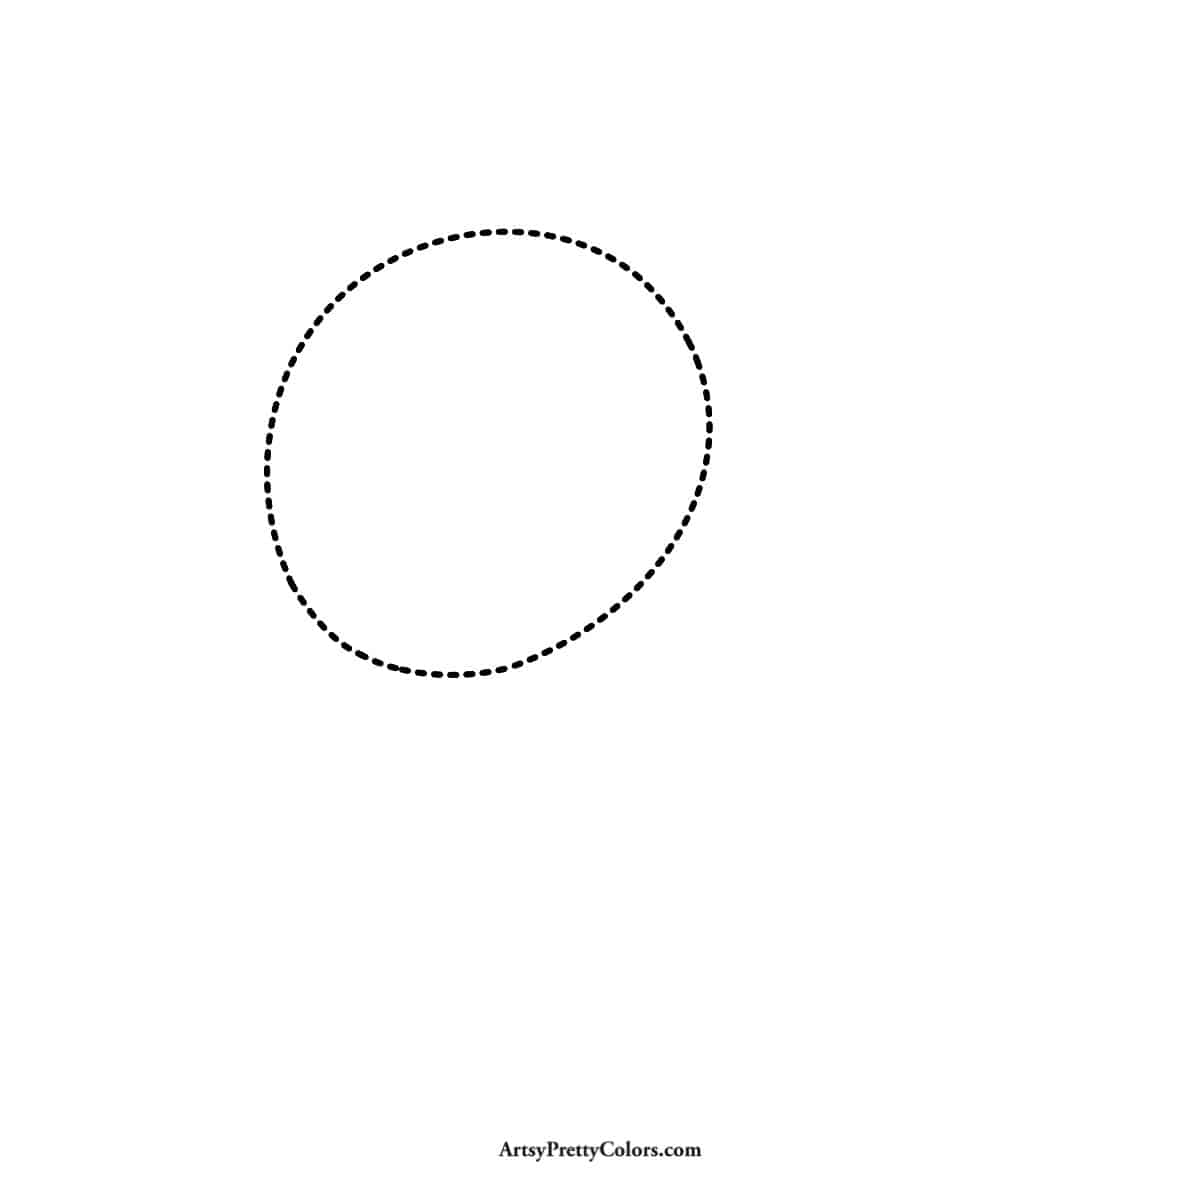
To start, sketch the head. Imagine an oval but not a perfect circle.
It looks a bit rounder on the left and flatter on the bottom right, tilted slightly diagonally.
Step 2. Draw The First Part of the Thorax
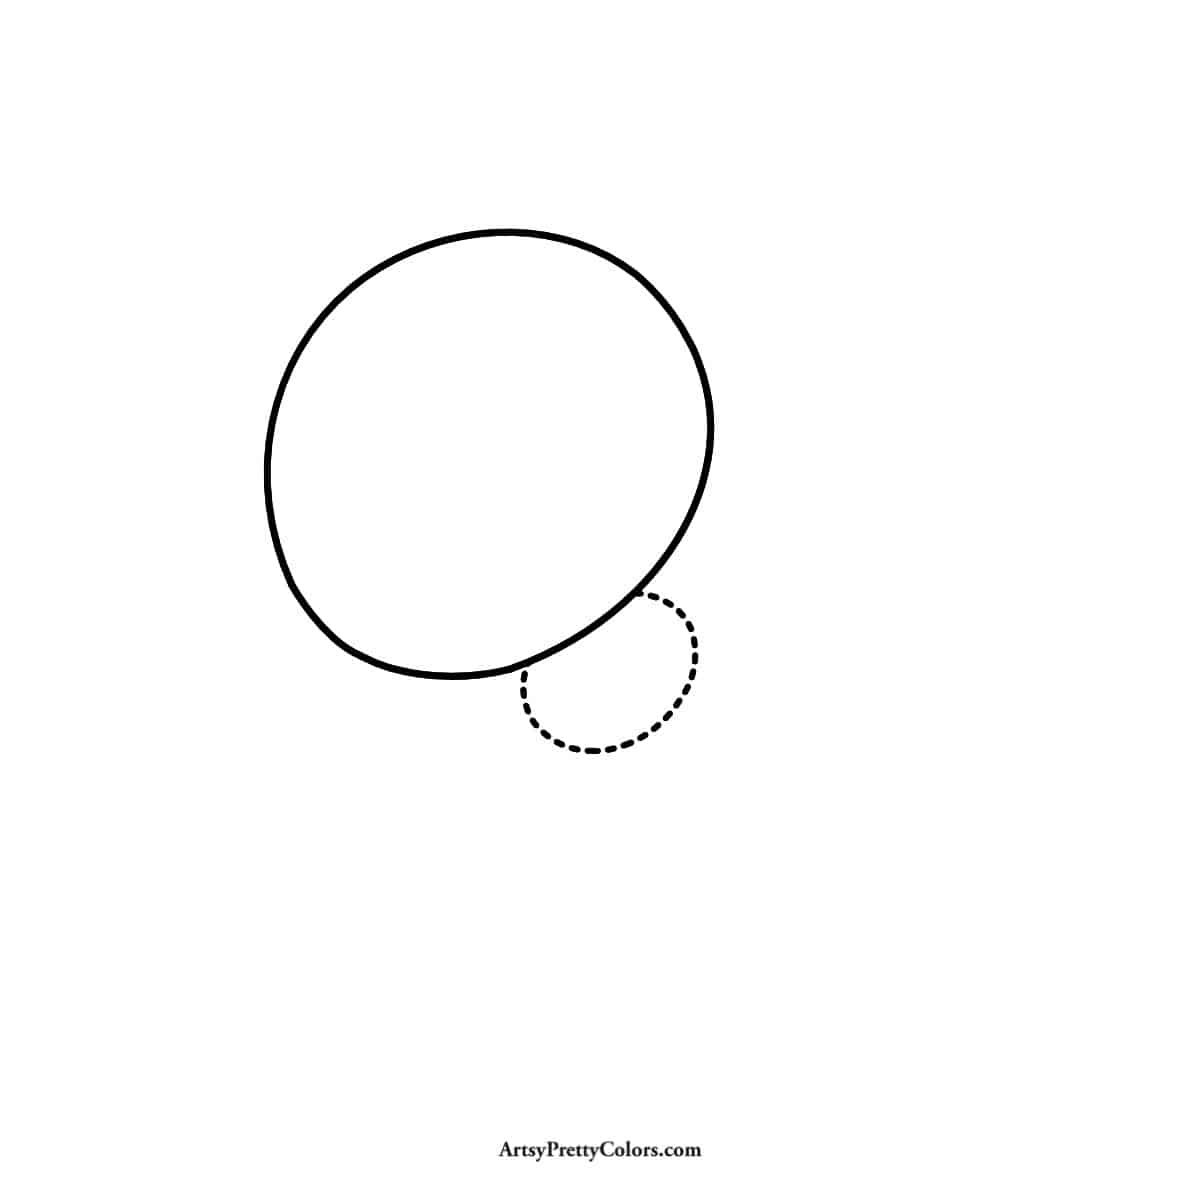
Next, let’s draw the first part of the ant’s thorax, the middle section of its body.
Create a smaller oval shape at the same diagonal angle, similar to the head but smaller.
Then attach it to the flat side of the head. Remember to erase any overlapping lines at the bottom.
Step 3. Make the Second Section of the Thorax

Like before, draw another small oval, a tad smaller than your last one, connecting it to the flat part. This adds more to the thorax.
Step 4. Sketch The Abdomen
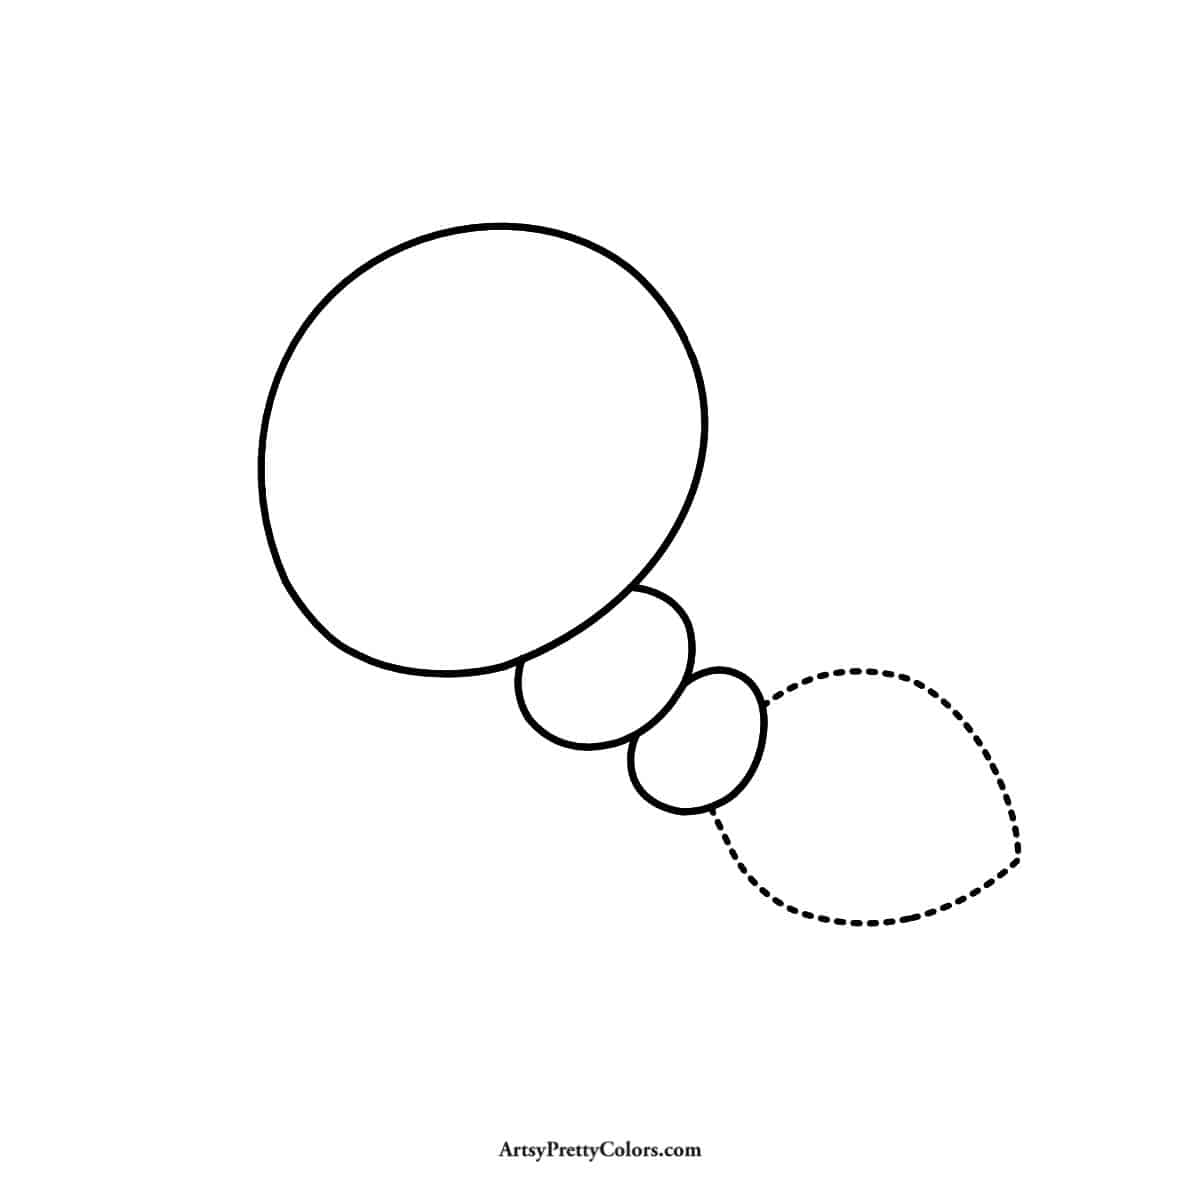
Now, the abdomen is a bit like an egg but with a pointed end at the back. Attach this part to the thorax on its rounder side.
Step 5. Create the Front Legs

For the front legs, start with a long oval for the top part of the leg, attaching it to the thorax’s middle top.
The bottom part of the leg is similar, with another oval pointing out to the right. Make sure to erase any overlapping lines for a clean look.
Do the same for the opposite leg.
Step 6. Add The Hind Legs

The hind legs consist of connected long ovals. Begin at the middle thorax, drawing a narrow oval upwards and diagonal.
Add another long oval vertically, and finish with a third oval that narrows towards the back. Repeat this step for the other side, but only where visible.
Step 7. Draw The Mandible, Eyes and Antennae

Add some details to the abdomen with evenly spaced curved lines. The mandibles, or jaws, are oval shapes with inward-facing L-curves.
The antennae start on the head’s far sides, curving back in an L-shape. Lastly, add two oval eyes.
Step 8. Detail the Eyes and Color the Ant

Finish by detailing the ant’s eyes with a large circle inside each eye for the iris and a smaller circle for the pupil.
Coloring the iris will make the eyes pop! Feel free to color the rest of your ant drawing, too.
Fun Facts About Ants:
- Ants are fascinating creatures! They live in large colonies where every ant has a particular job. Younger ants usually stay inside the colony to protect the queen and care for the eggs.
- Did you know ants can lift up to 20 times their body weight? That’s incredibly strong!
- There are about 12,000 different species of ants around the world.
- Although they don’t have ears, ants can feel vibrations through the ground. Plus, ants have been around since the dinosaurs!
After drawing your ant, why not explore the outdoors with a backyard scavenger hunt? Enjoy discovering nature’s wonders right in your backyard.
Don’t forget to Pin it for later!

How To Draw An Ant
You can learn how to draw an ant in just 8 easy steps with this step by step drawing tutorial.
Materials
- Paper
- Pencil
- Eraser
Tools
- Please see the full materials list above the tutorial for details.
Instructions
- Follow the Dotted Circles to Draw the Head
- Create the First Part of the Thorax Below the Head
- Make the Second Section of the Thorax
- Draw the Abdomen Below the Second Thorax
- Create the Front Legs At The First Thorax Section
- Draw the Hind Legs
- Draw the Mandible/ Jaws, the Eyes and Antennae
- Detail the Eyes and Color the Ant