
How to Draw a Wasp
Let’s learn how to draw a wasp together!
Did you know you can draw a wasp using some simple shapes? It’s true!
And it’s pretty fun once you know how. We’ll show you step-by-step instructions on how to draw each shape.
You’ll be an expert at drawing wasps by the end of this!

Did you know a wasp can sting more than once without dying, unlike a honey bee?
You can check out more interesting facts at the bottom of the tutorial.

Drawing Supplies You’ll Need
- A pencil
- An eraser (those white magic erasers are great because they don’t leave streaks, but a pink one works, too!)
- Some paper
- A pencil sharpener
Extra paper is handy if you want to try drawing more than one wasp.

Before we start, did you know you can also draw other cool bugs like bumblebees, industrious ants, grasshoppers, and beautiful butterflies?
Check them out after you’ve mastered your wasp!
How to Draw a Wasp Step by Step
Step 1. Draw the Head
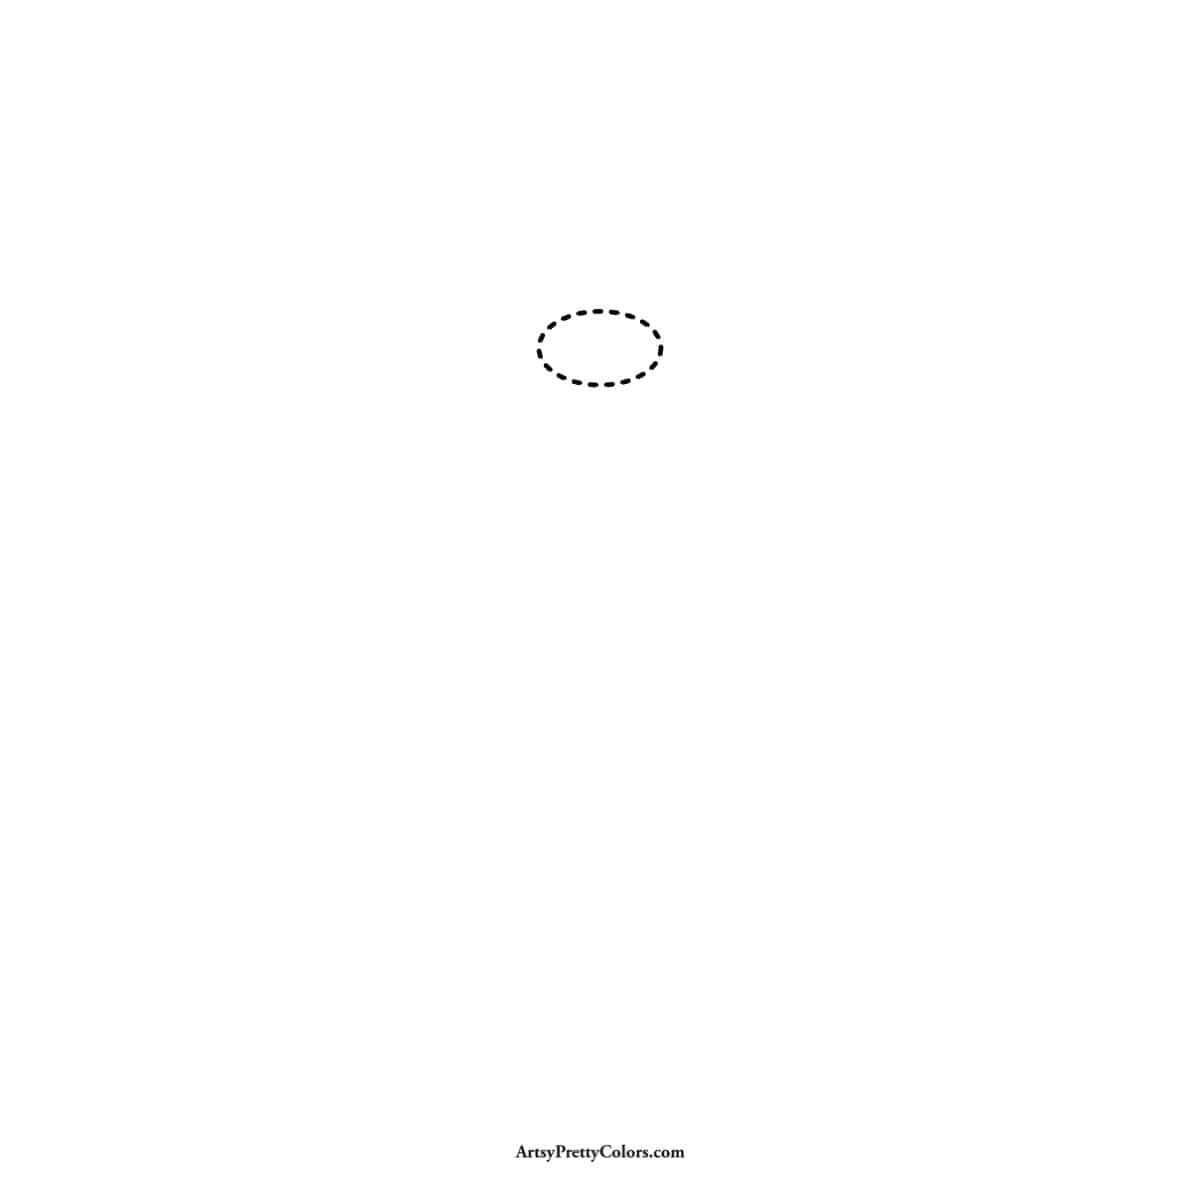
Start with an oval shape for the wasp’s head. Remember to keep your pencil lines the same thickness for the whole drawing.
Step 2. Sketch The Thorax

Now, draw a U-shape that dips in at the top right below the head. This part is called the thorax.
Step 3. Make The Abdomen Below The Thorax
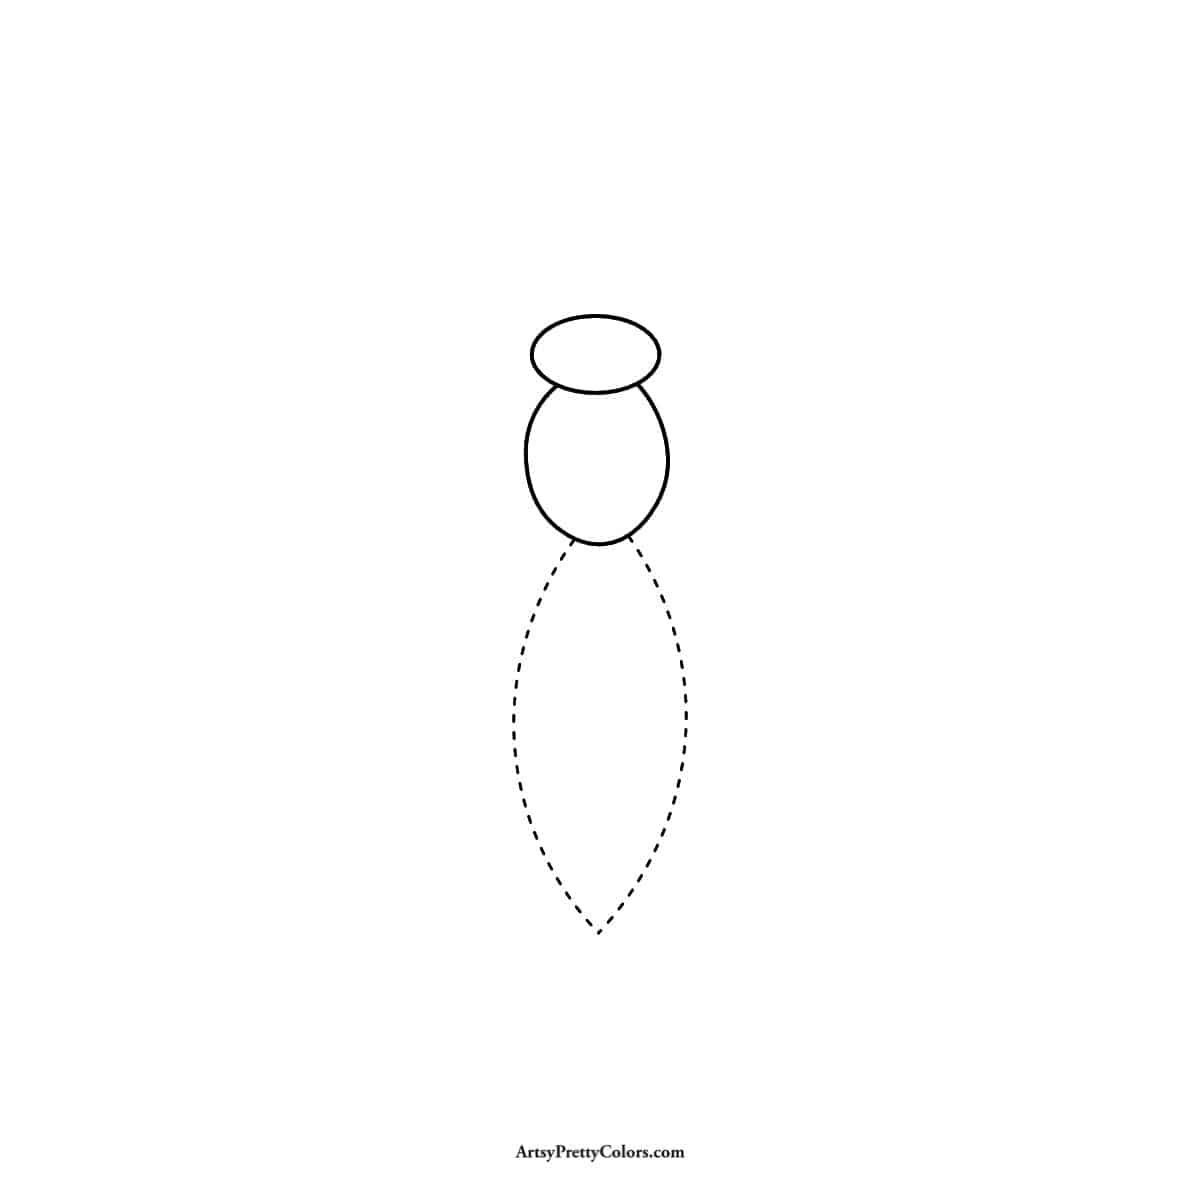
The abdomen is the long part that comes next. It’s thinner near the thorax and gets wider before tapering off at the end.
Step 4. Create The Wings
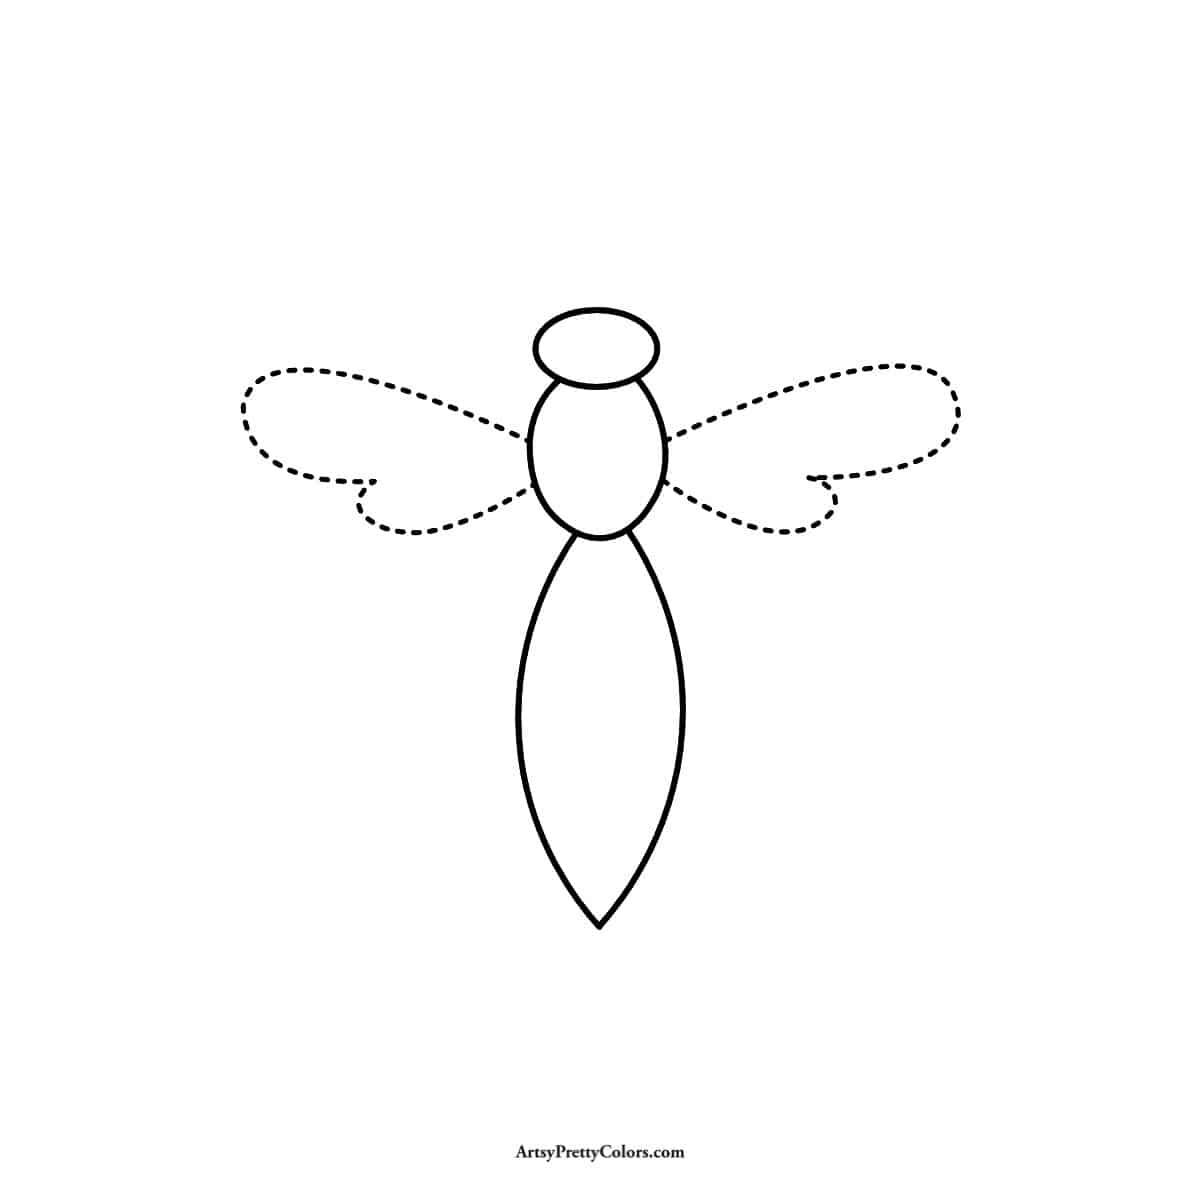
Wasp wings look like sideways hearts. Draw the top part wider and the bottom part ending in the middle of the wing.
Step 5. Draw the Front Legs

Wasps have two thin front legs. Draw them coming out from between the head and wings.
Step 6. Create the Back Legs and Wing Sections
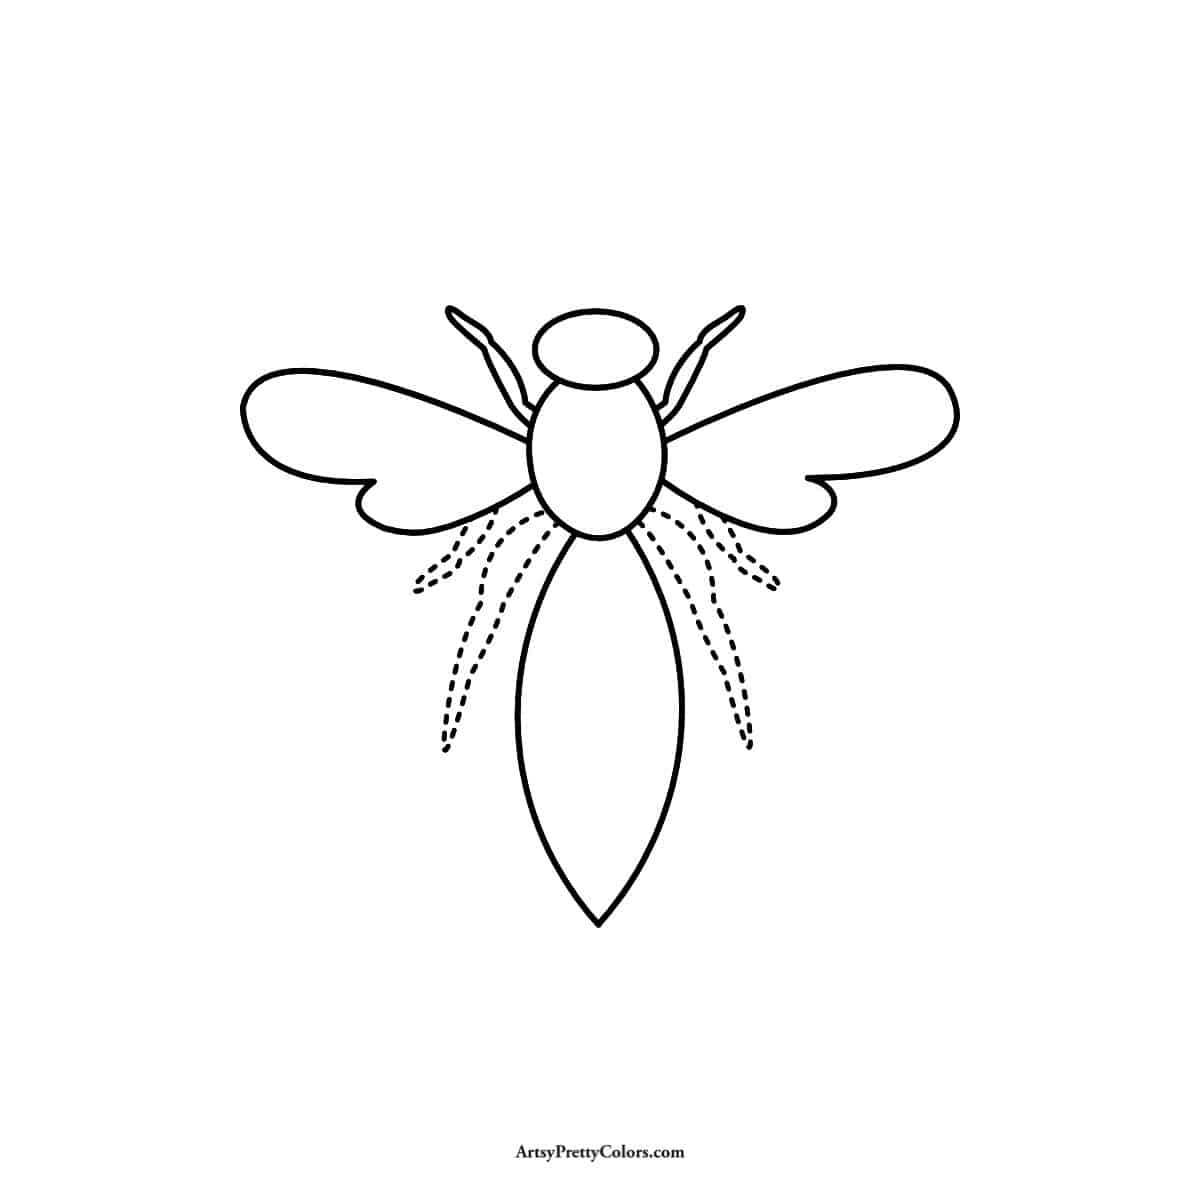
Add four more legs at the back. The shorter ones start high on the thorax, and the longer ones are in the middle.
Then, add some lines to the wings to show their structure.
Now you can add additional forms to the wings.
Step 7. Add The Antennae, Eyes and Abdomen Stripes
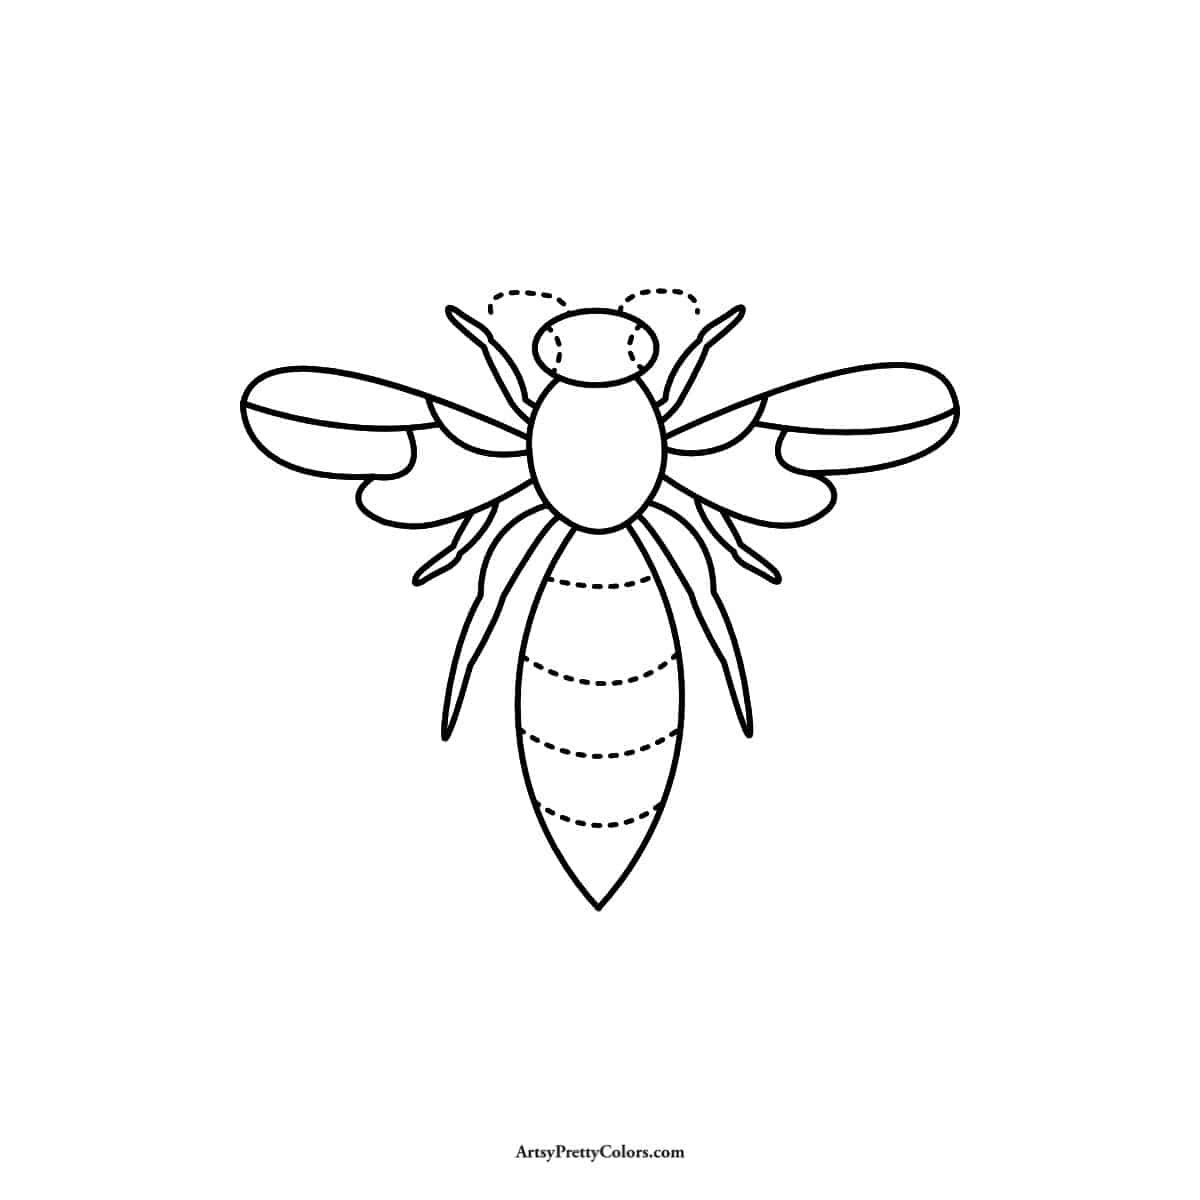
Add big half-oval eyes on the sides of the head. Then, draw the antennae on top like an upside-down smile.
Finish this step by adding curved lines on the abdomen for stripes.
Step 8. Draw the Mandible
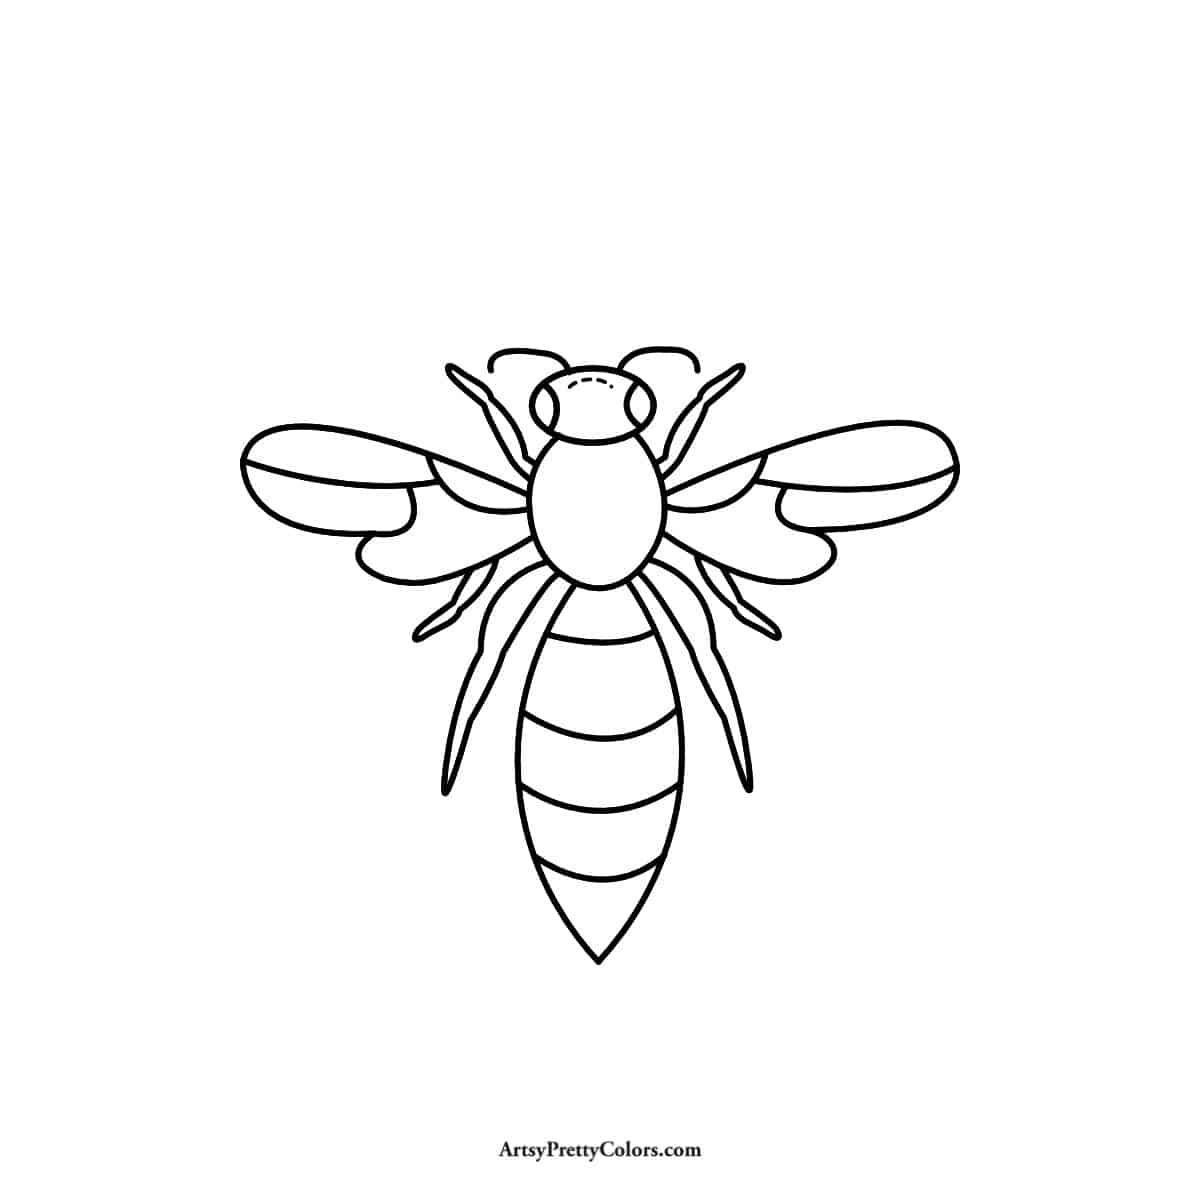
The mandible, or mouth, is just a simple curved line at the top of the head.
Step 9. Add Eye Details and Color the Wasp
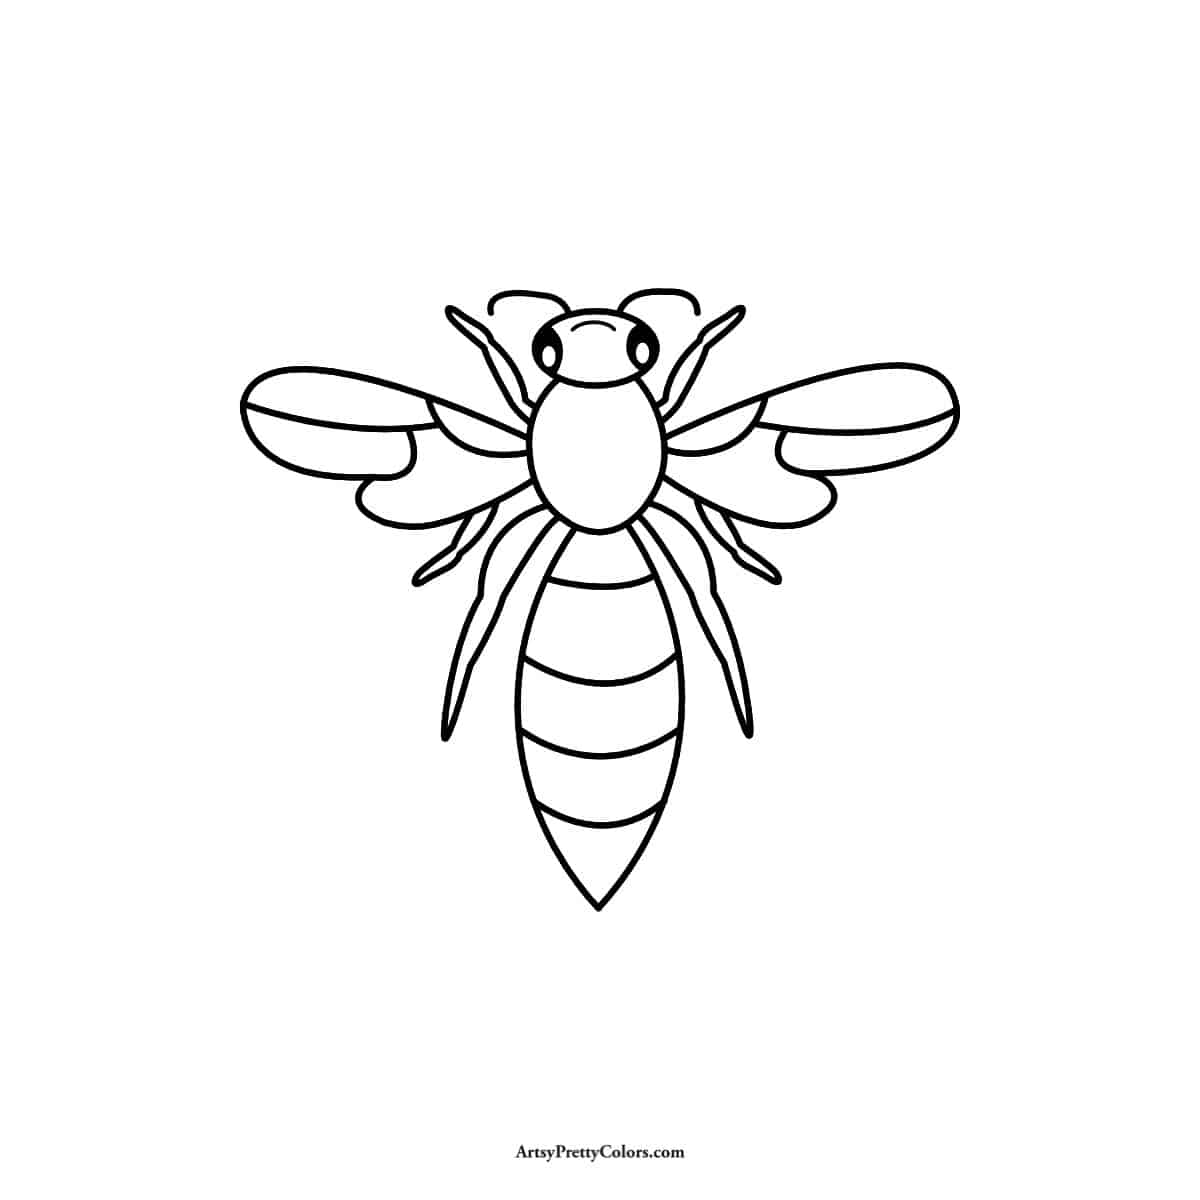
Put two small circles in the eyes for pupils and color your wasp if you’d like!
Did You Know?
- There are over 30,000 species of wasps!
- Some wasps build nests from paper, and others use mud.
- Only female wasps can sting. Males don’t have stingers.
- You’re less likely to be stung by a wasp in late fall to early summer because they’re busy looking for sugary foods.
- And there you have it, your very own wasp drawing!
Don’t forget to try drawing other fun insects and maybe even start your own backyard nature scavenger hunt.
Don’t forget to Pin it for later!
