
How to Draw a Butterfly Step By Step
Let’s dive into how to draw a butterfly with our simple guide.
Butterflies are super fun to draw because their wings are full of brilliant colors.
In this guide, I’ll show you an easy way to draw a butterfly that looks real. Grab a fine black marker to outline everything neatly.
Then, bring the wings to life with colorful markers or pencils.
We’ve designed this guide to be super easy to follow.
By breaking down the butterfly into basic shapes, drawing this beautiful bug becomes a piece of cake.

Did you know there are over 20,000 different kinds of butterflies? That’s a lot of butterflies!
You can find more cool butterfly facts at the end of this post.
If you love drawing, check out our other fun tutorials on how to draw a grasshopper, wasp, bumblebee, and ant.
Plus, don’t miss our awesome guide for drawing a majestic owl.
Drawing Supplies You’ll Need
- Pencil
- Eraser
- Sheet of paper
- Pencil sharpener
A white eraser is great because it won’t leave behind any marks, but pink ones work too if that’s all you have.
Also, it’s a good idea to have some extra paper just in case you want to start your drawing over.
Draw A Butterfly: Step By Step Tutorial

Step 1. Draw The Butterfly Head

Start by drawing a small circle for the head. That’s the first step!
Step 2. Create The Eyes
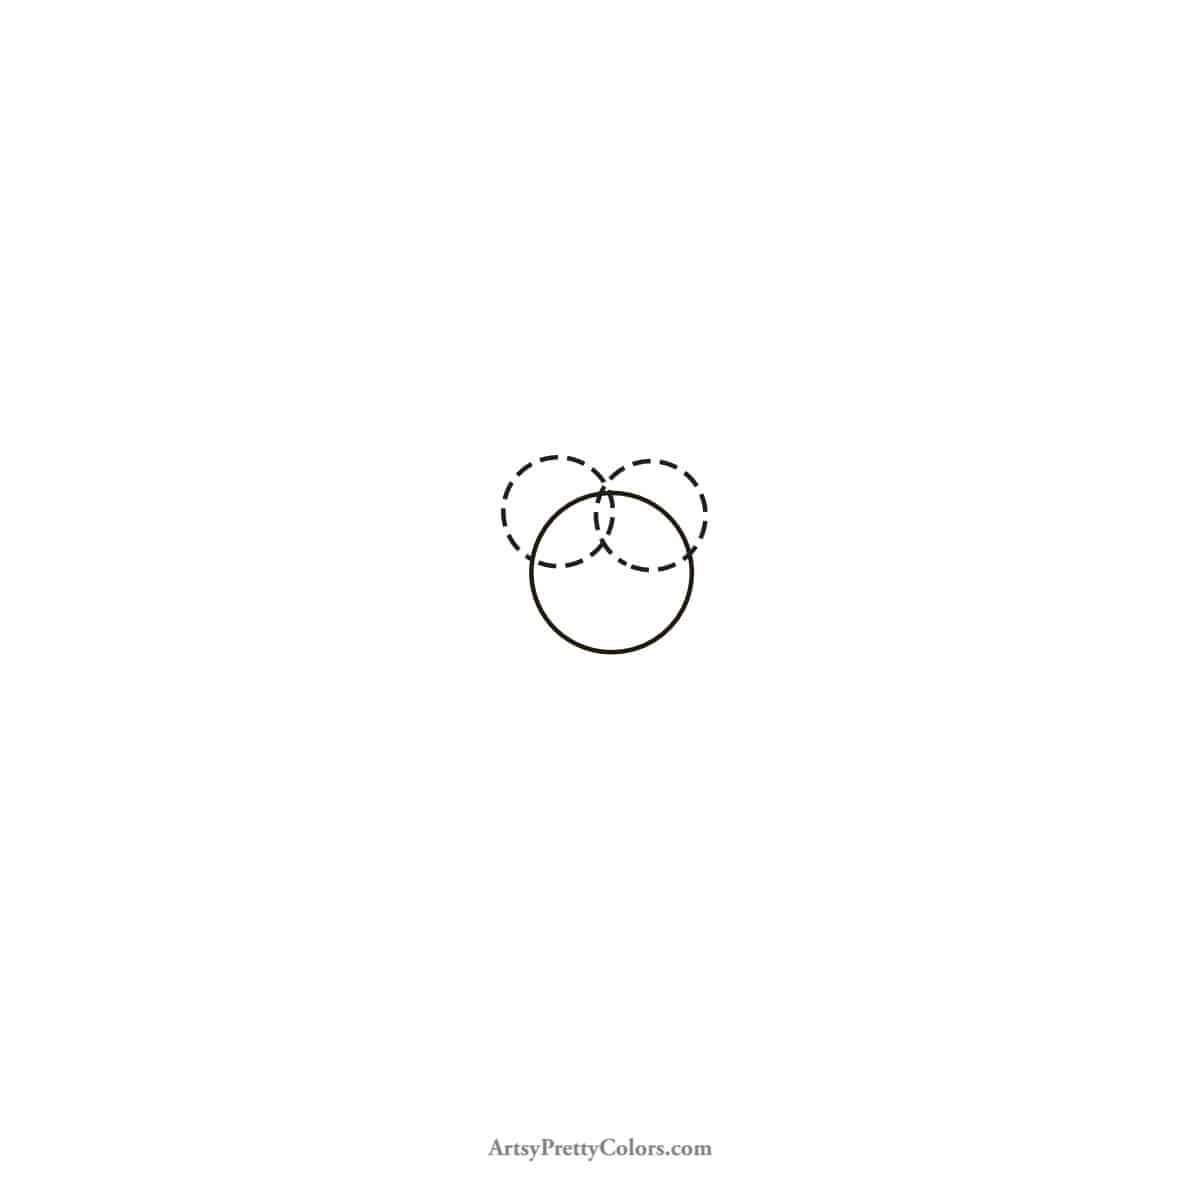
Next, draw two circles for the eyes—one on the left side of the head and a slightly smaller one on the right.
Step 3. Draw The Mouth And Pupils

Add a curved line for the mouth below the head circle.
Then, draw smaller circles inside the eyes for the pupils and a tiny v-shape for that particular eye detail.
Step 4. Make The Thorax

Just below the head, draw an oval for the thorax, the top part of the butterfly’s body.
Step 5. Draw The Abdomen

Below the thorax, draw a teardrop shape for the abdomen, the bottom part of the body.
Step 6. Create The Top Section Of The Wings
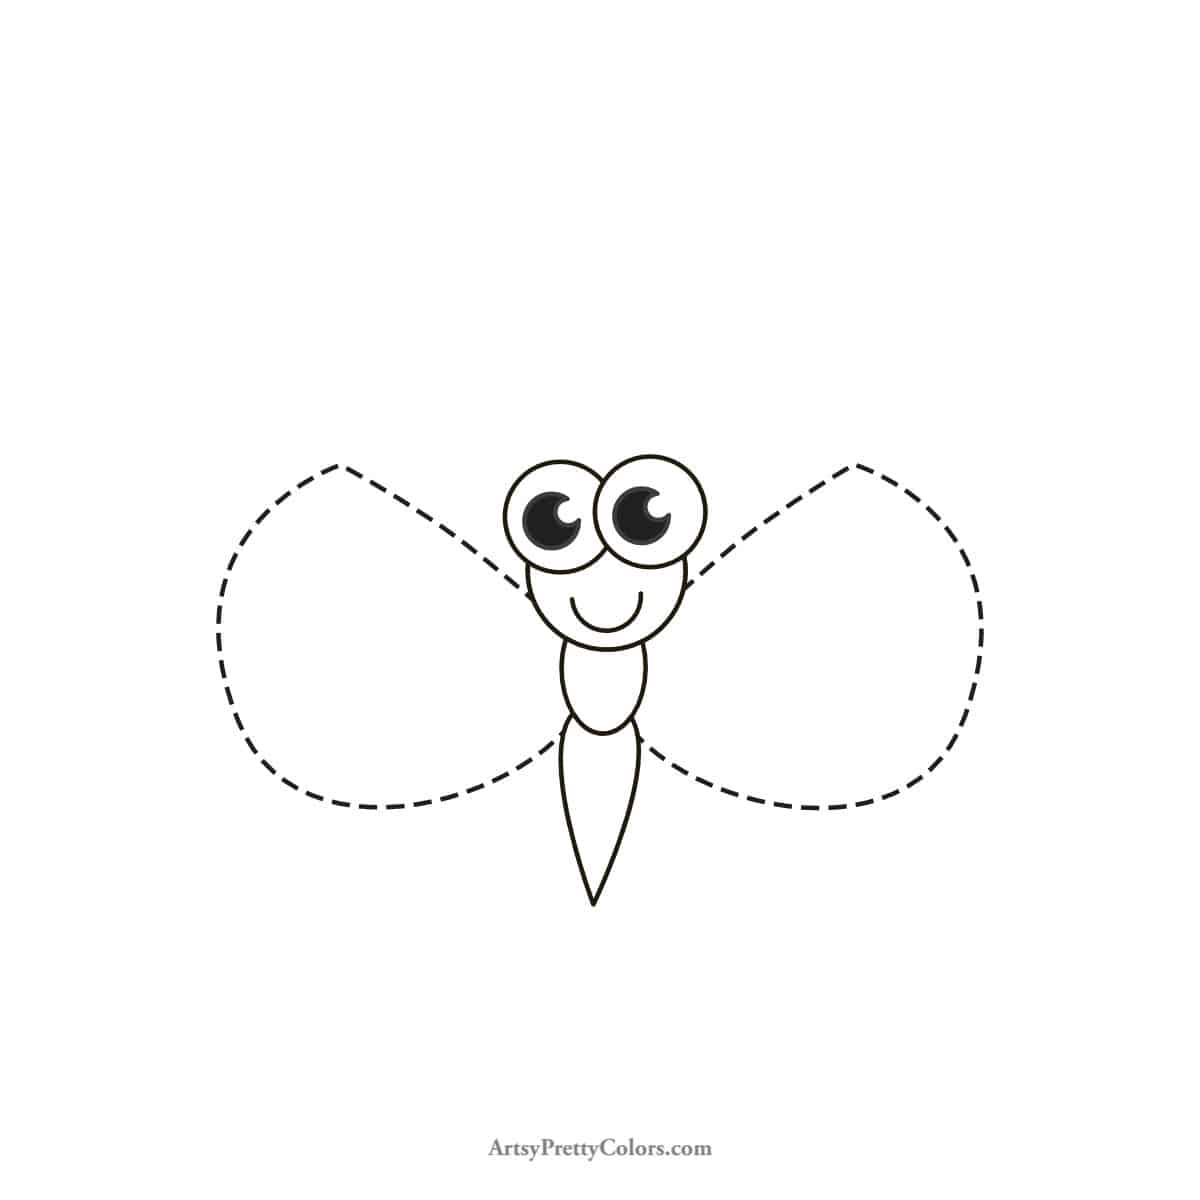
Draw a big circle starting at the bottom of the body for each upper wing.
Extend the line upward and connect it back to the body for a nice wing shape.
Step 7. Draw The Lower Section

For the lower wings, make an oval shape in the opposite direction of the upper wings, starting from the middle of the abdomen and going up to the thorax.
Step 8. Sketch The Legs

Butterflies have three pairs of legs. Draw them as curved lines from the butterfly’s body, with a small circle at the end of each leg.
Step 9. Draw The Antennae And Feet

Draw two curved lines for the antennae from the top of the head, ending in a curl.
The feet are just little circles at the end of the legs.
Step 10. Add Detail To The Wings

Finally, add two circles on each upper wing for extra detail.
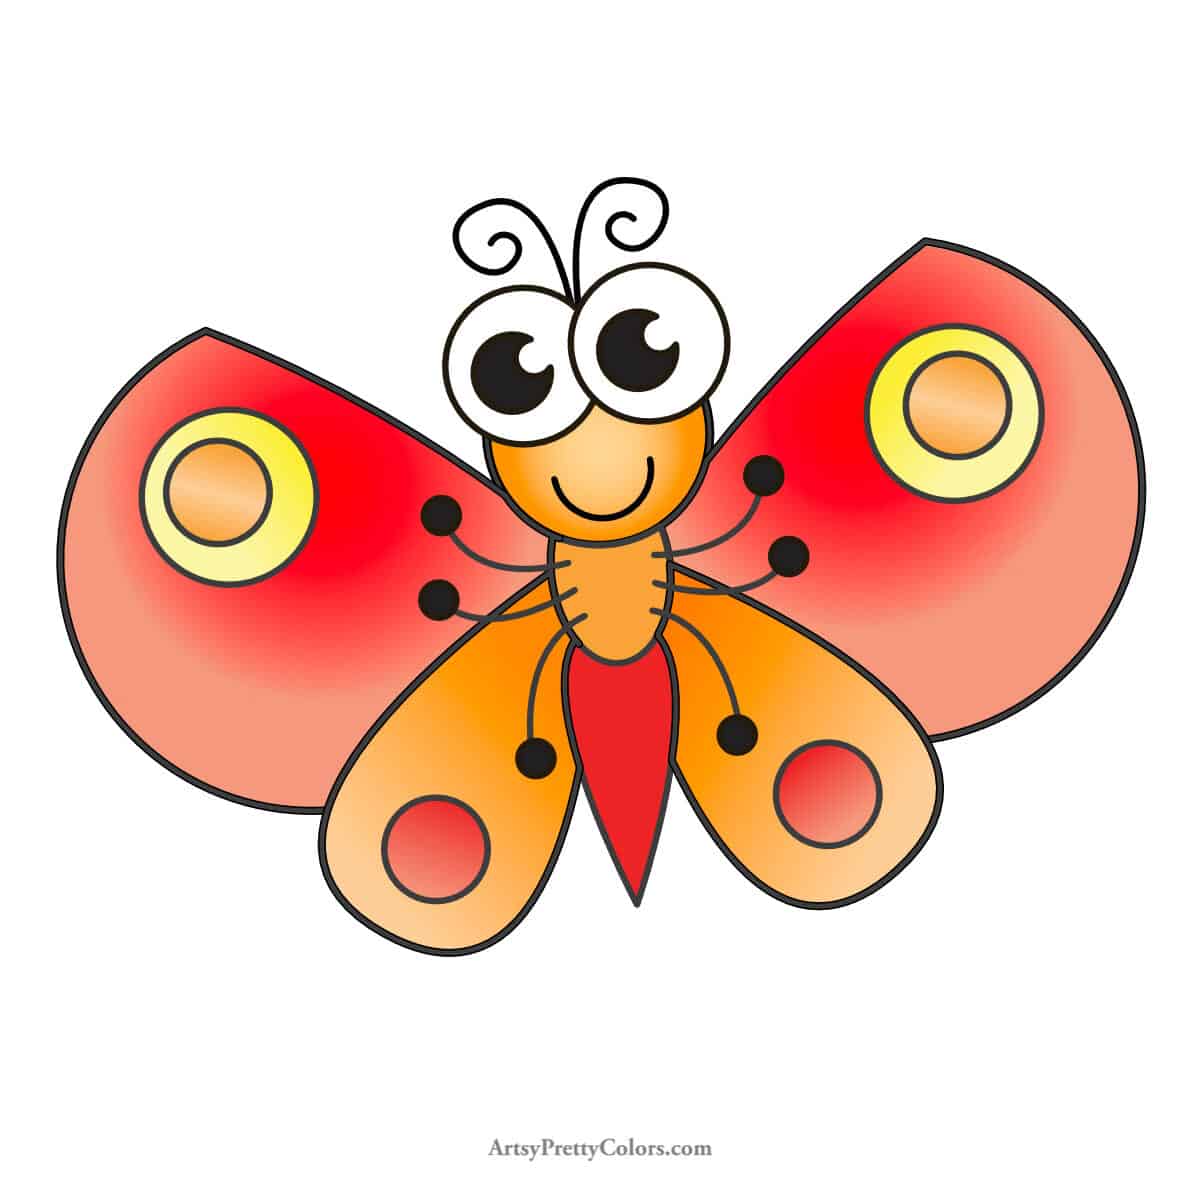
Now, you’re ready to create your own colorful butterfly.
Remember, drawing is all about having fun and practicing, so if your first butterfly isn’t perfect, just try again!
Fun Facts About Butterflies
- You can tell male and female Monarch butterflies apart by the wing pattern. Males have two dark spots on their hind wings, but females don’t.
- The most common butterfly in the USA is the Cabbage White, named for its white color with hints of yellow and green, just like the veggie!
Don’t forget to Pin it for later!

How to Draw a Butterfly Step by Step
A tutorial for how to draw a butterfly. Step by step details for creating an easy picture of a butterfly by creating simple shapes and combining them.
Materials
- Pencil
- Paper
- Eraser
Tools
- Please see the full materials list above the tutorial for details.
Instructions
- Draw the Head Starting With A Circle
- Draw the Eyes On Top Of The Circle
- Create the Butterfly’s Mouth and Pupils
- Make the Thorax
- Draw the Abdomen Below The Thorax
- Draw the Top Section of the Wings
- Draw the Second Section of the Wings Below
- Create the Legs On Each Side
- Add The Details to the Butterfly’s Wings