
How To Draw A Bull (Step by Step)
Get ready to learn how to draw a bull in a fun and simple way with this guide!
Drawing your favorite animals can be a blast, and when you see how we break down a bull into easy shapes, you’ll be amazed at how simple it can be.
We’ve laid out each step clearly, turning the mighty bull into manageable parts for you to draw.
Did you know that bulls are incredibly strong and powerful animals, tipping the scales at an impressive 1000 to 2000 pounds?
They stand tall, too, with an average height of about 6 feet.
While bulls may look cute, they’re definitely not the kind of farm animal you’d want to tangle with!
So, grab your pencils, and let’s bring this gentle giant to life on your paper
Drawing Supplies You’ll Need
- Pencil
- Paper
- Eraser
- Pencil sharpener
Optional Materials
Coloring in the bull is optional for this drawing tutorial.
Still, if you’d like to color it, we recommend using felt-tip pens, crayons, colored pencils, or markers.
Drawing can be a great way to explore your creativity.
If you’re interested in more, check out tutorials on drawing other animals like cute cows, a cute goats, a bear face, and a fox head. Keep practicing, and have fun with your art!
Step-By-Step Guide For How To Draw A Bull

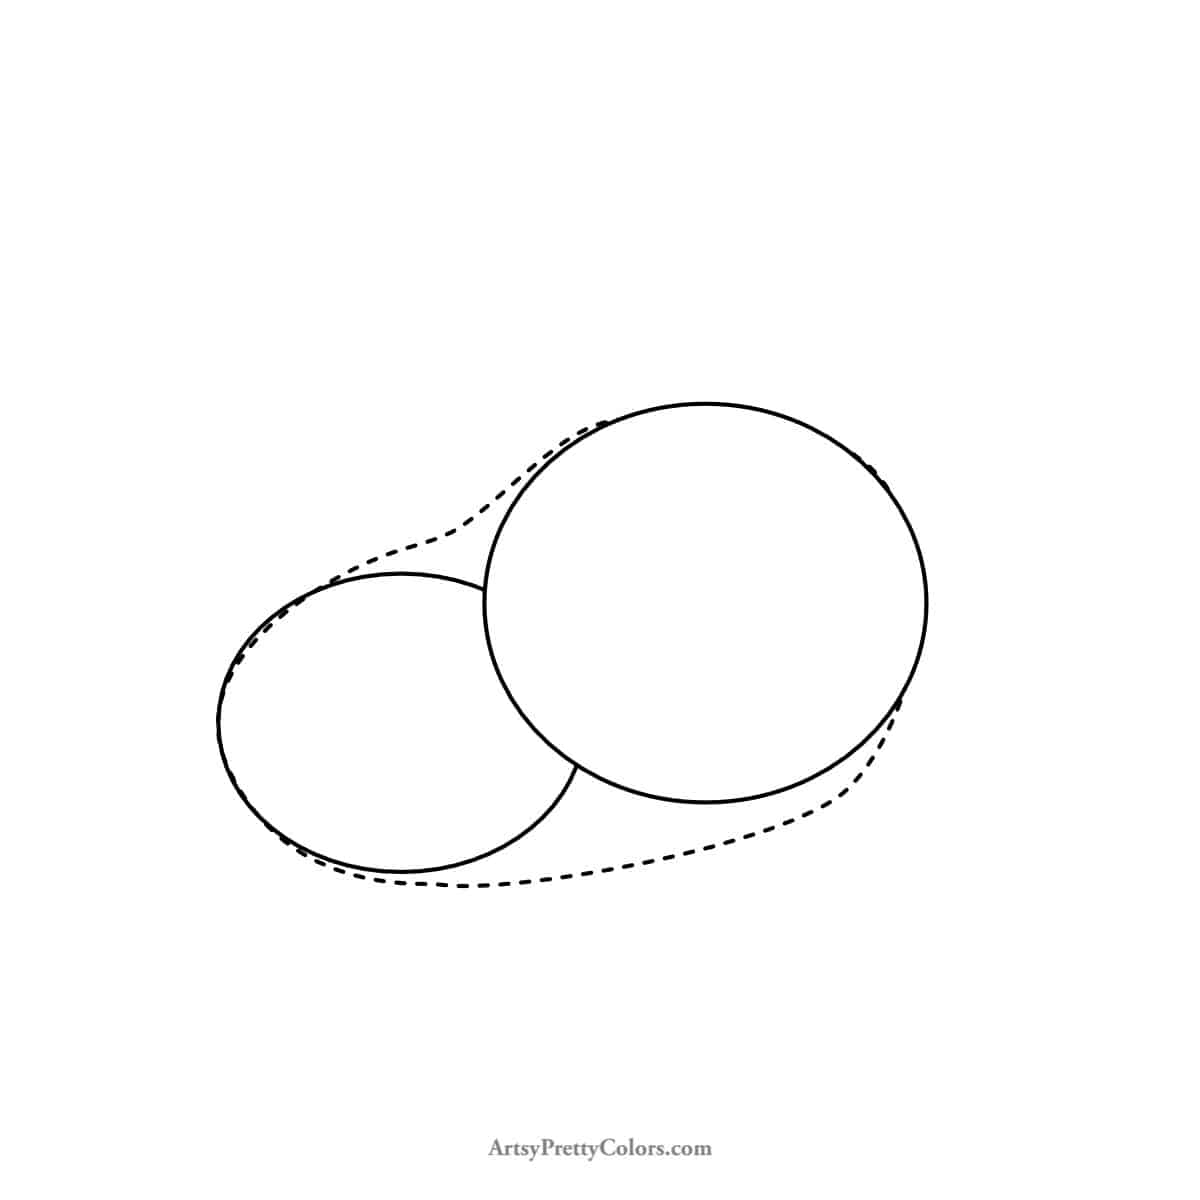
Step 1. Begin with the Bull’s Back End

Draw a short, not wide, oval. This is the starting point for the bull’s hindquarters.
Step 2. Create The Shape For The Body

Connect a larger oval to the first one to form the bull’s body. This second oval helps give our bull its shape.
Step 3. Outline The Body
Draw a long curve for the bull’s back and a short angled line for the chest.
Connect these lines to outline the bull’s body, giving it a more defined shape.
Step 4. Add The Legs
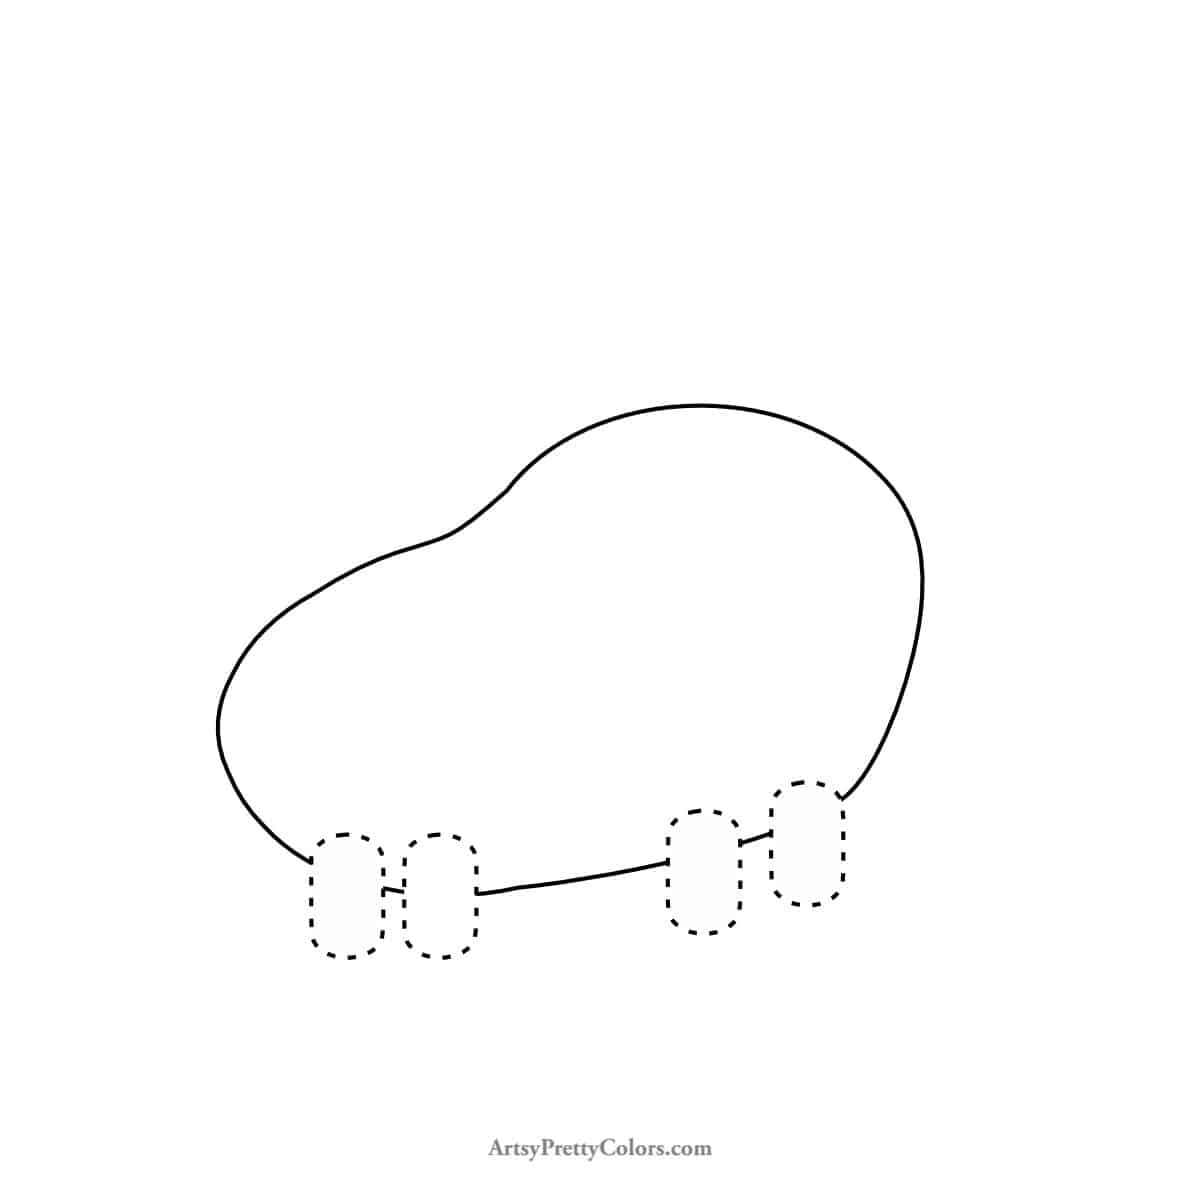
Erase the ovals inside the body to clean up your drawing, then sketch out the bull’s legs.
Remember, bulls have relatively thin legs compared to their bodies, so use skinny ovals for this.
Step 5. Add The Hooves And Tail

For the tail, draw a short curve at the back end, topped with a rounded triangle for a bushy look.
Draw the hooves by mirroring the shape of the leg’s bottom on each foot.
Step 6. Make The Face
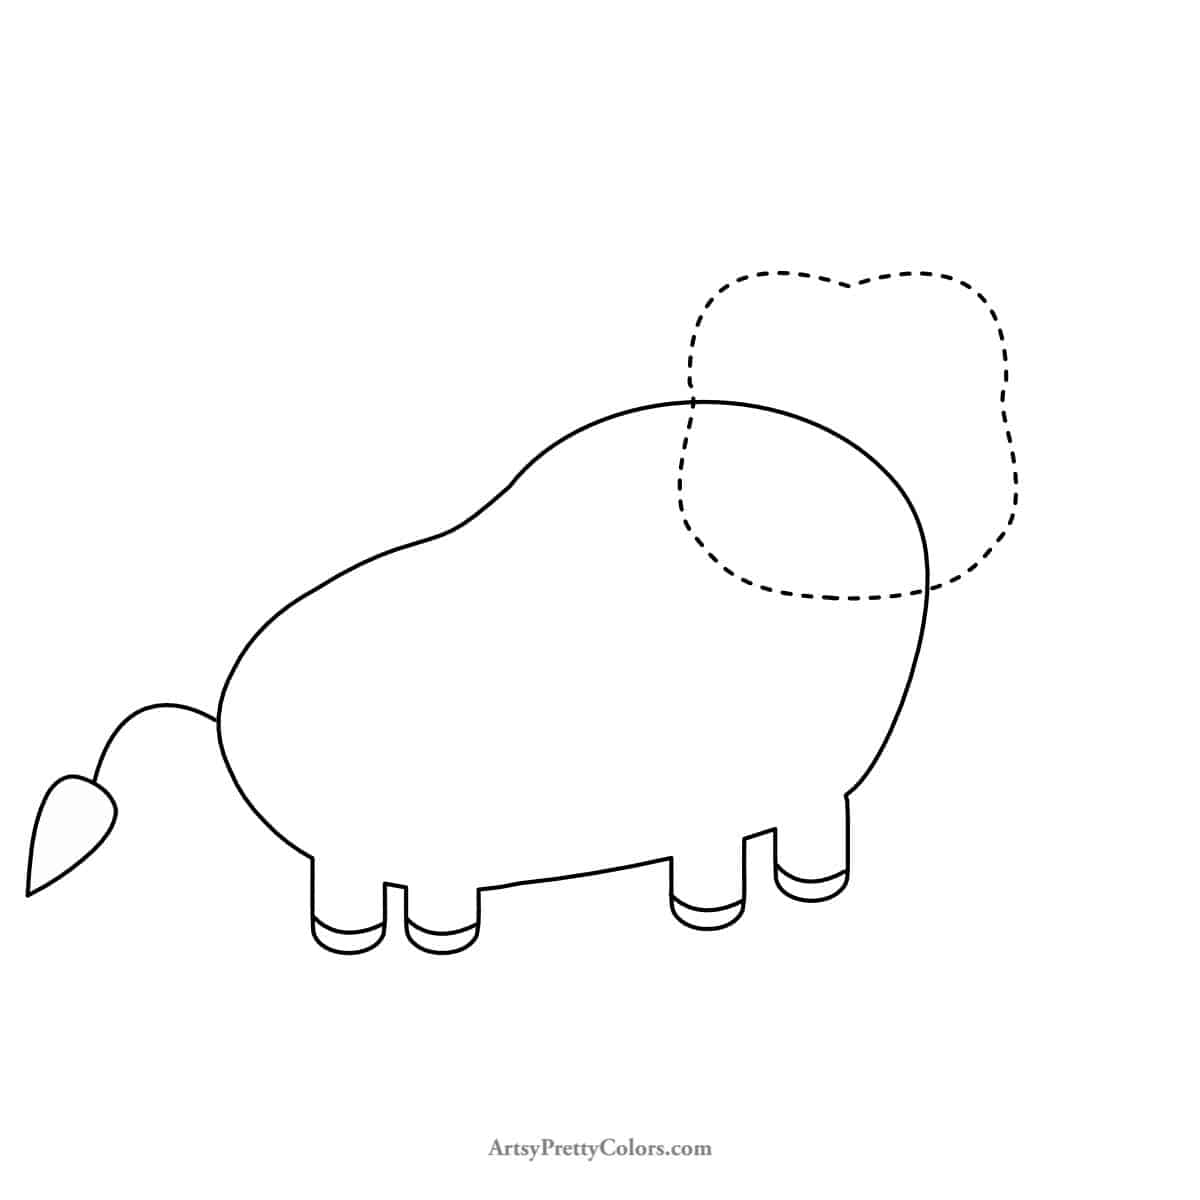
Align the middle of the head with the front leg. Shape the top like the top of a heart and the bottom with a wide C-shape for the bull’s face.
Step 7. Fill In The Eye Details
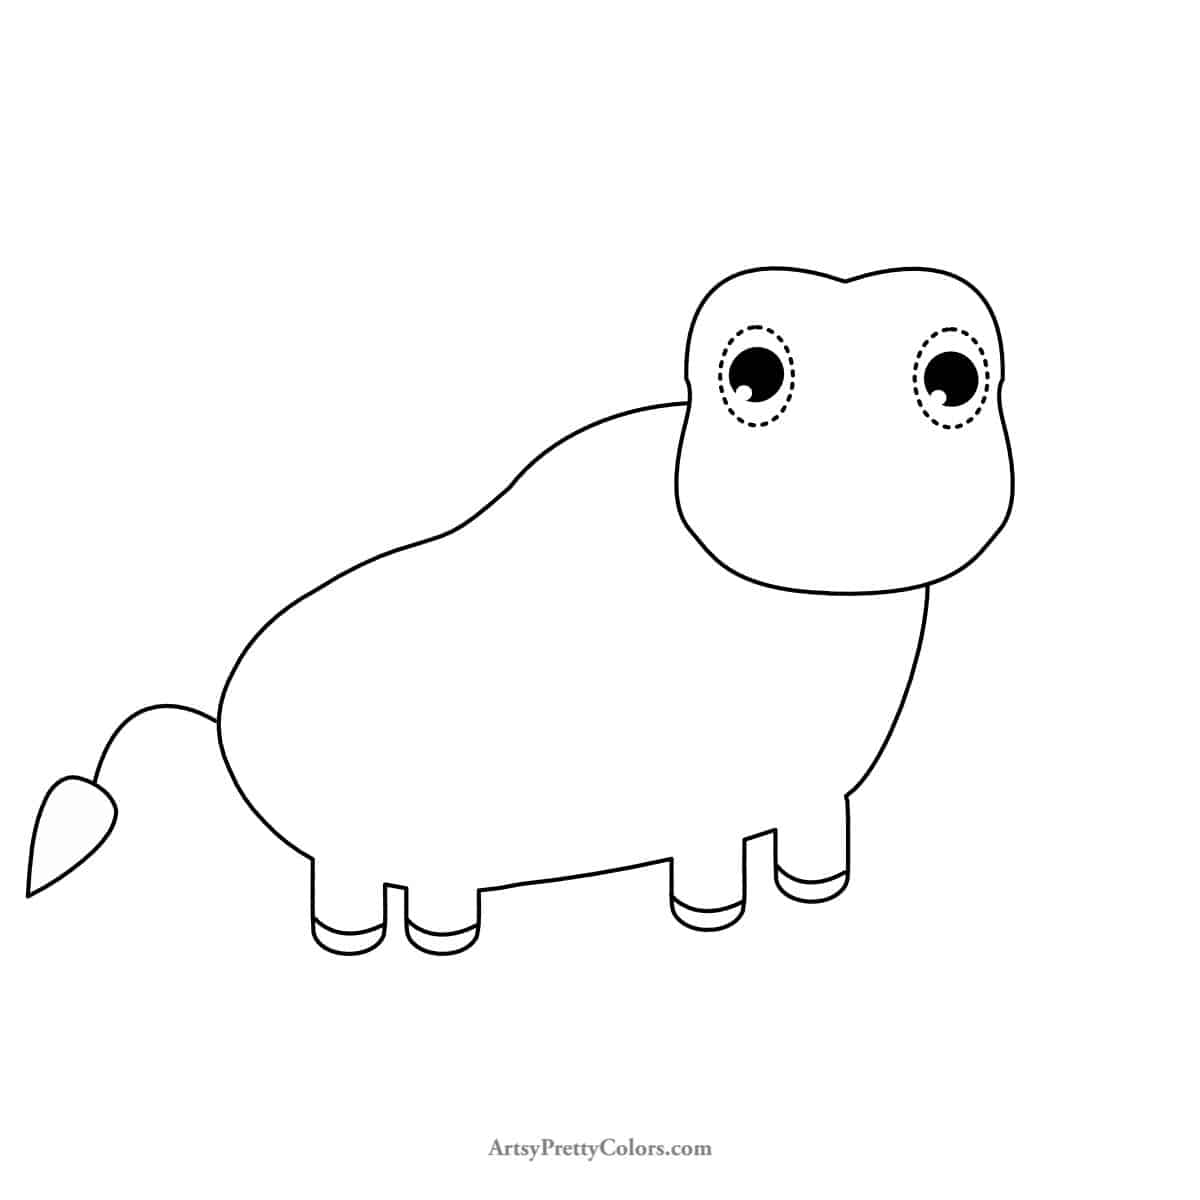
Sketch two ovals for the eyes, adding smaller circles inside for the pupils.
Color the pupils dark to make them look real, leaving a tiny white circle for reflection.
Step 8. Add Horns And Ears

Add C-shaped curves for the horns on the head’s sides. Draw the ears below the horns, ensuring they’re correctly angled, and then add inner details with long ovals inside the ears.
Step 9. Draw The Muzzle
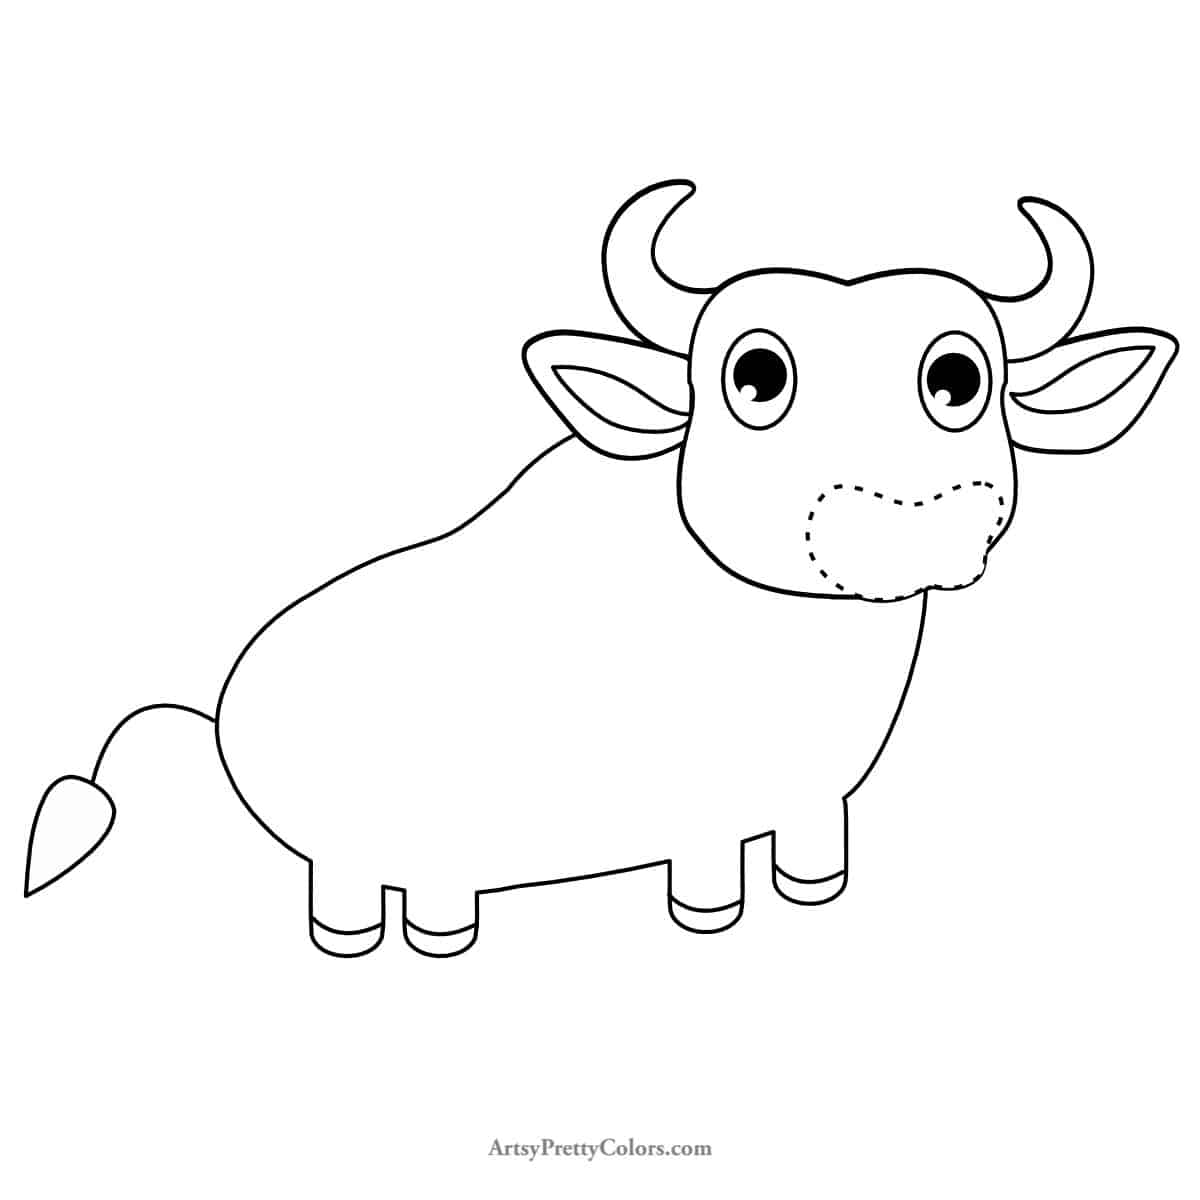
For the muzzle, draw two inward-turning ovals at the end of the bull’s face, making them slightly overlap.
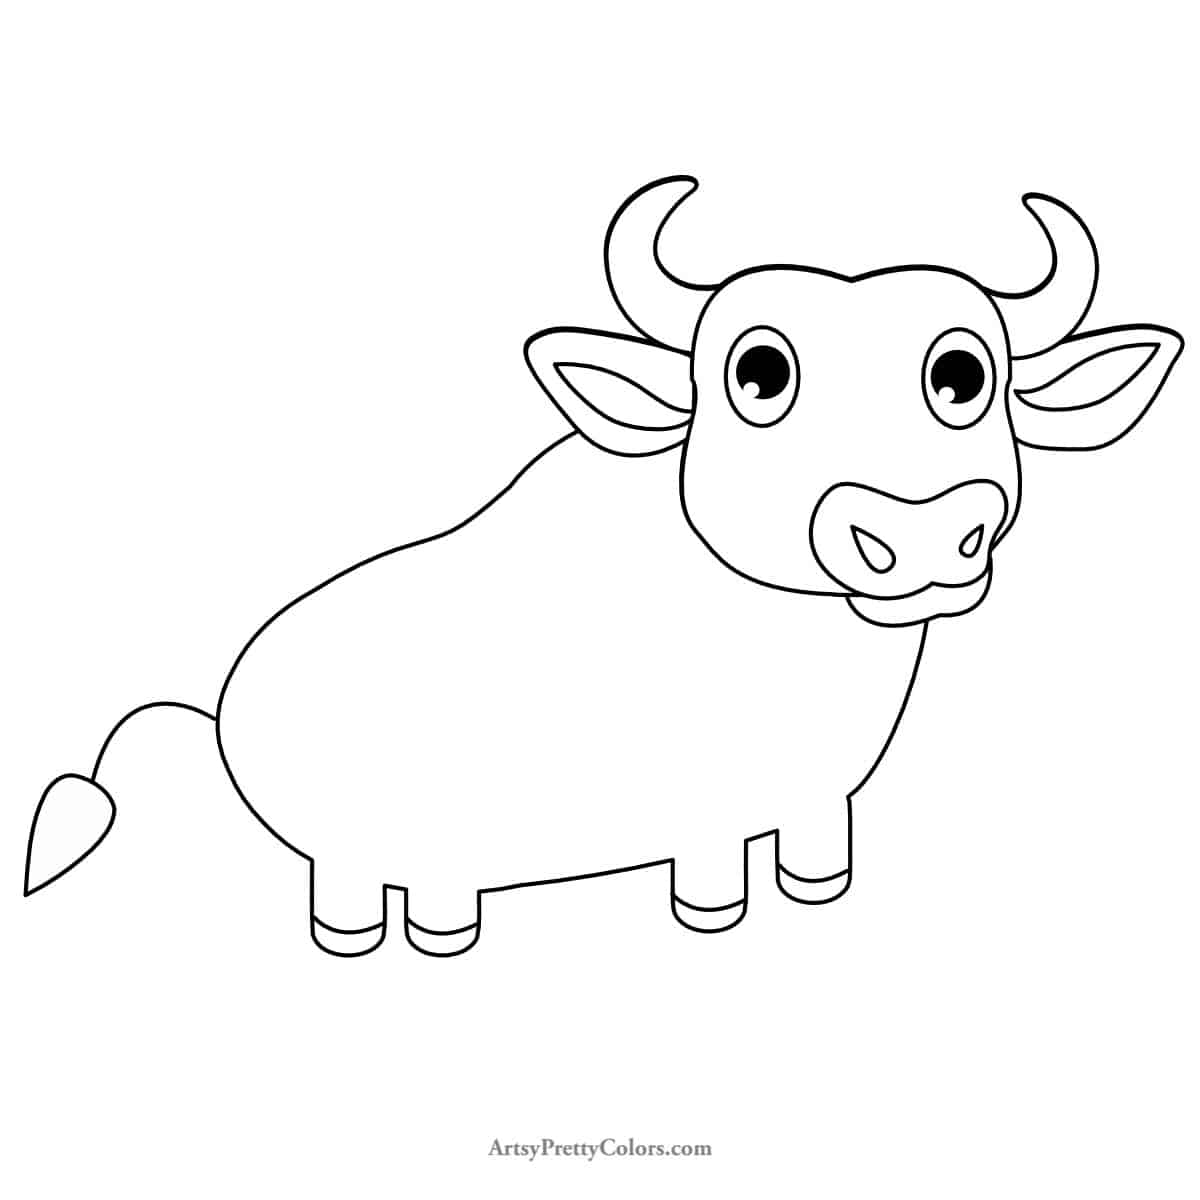
Step 10. Fill In The Muzzle Details

Finish up the face with the bull’s lower jaw and nostrils.
The jaw looks like a sideways wide B, and the nostrils are tapered ovals placed in the middle of the muzzle.
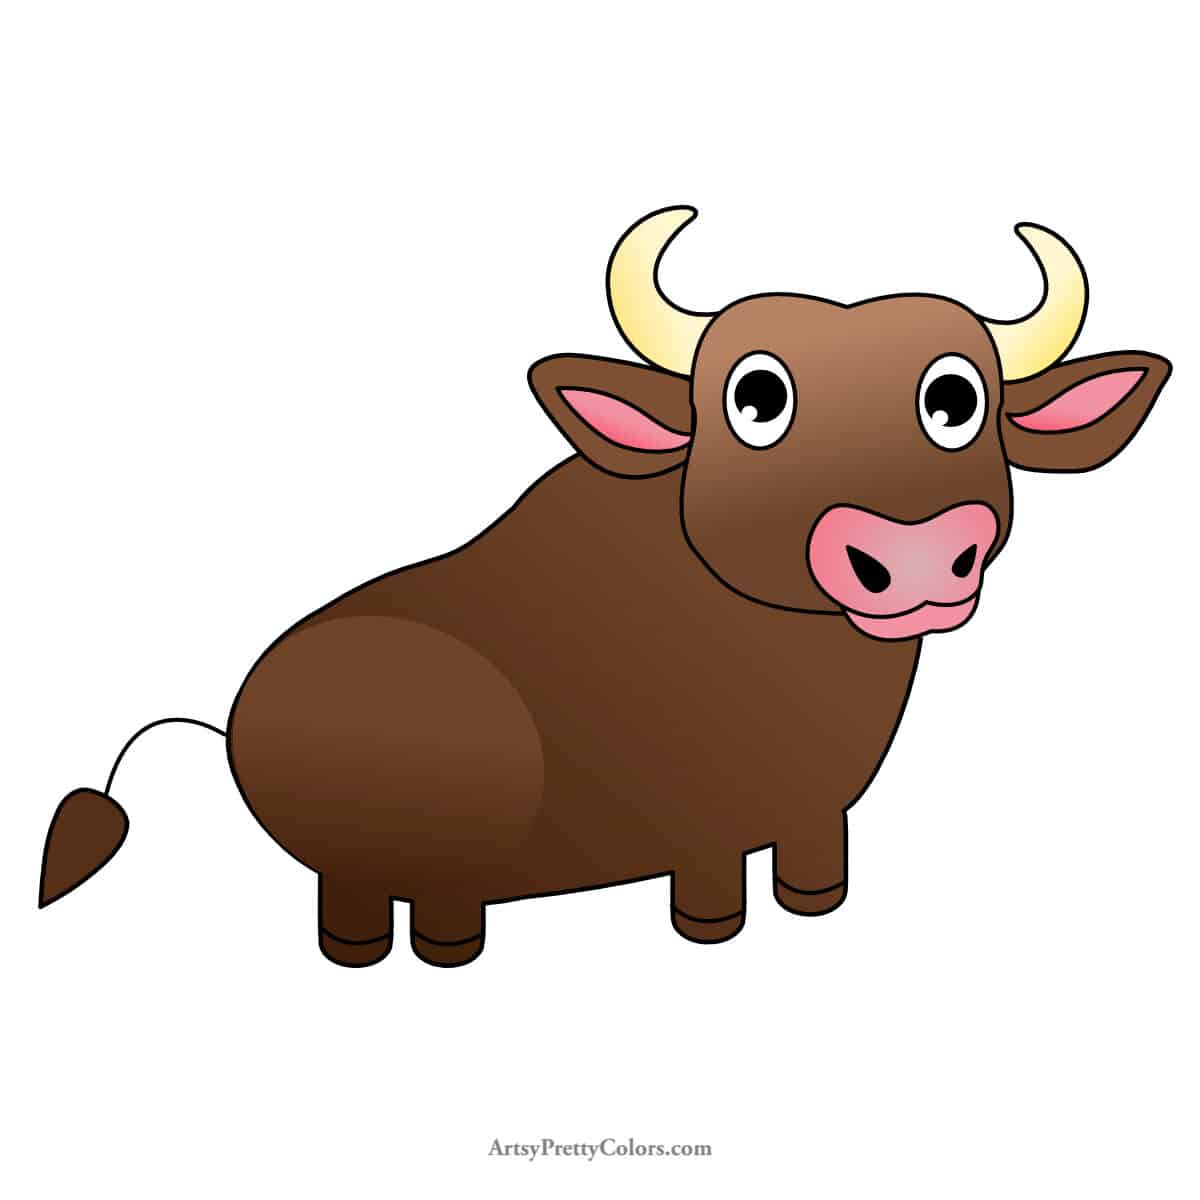
Now, you can color your bull any way you like. We chose dark brown, but the sky’s the limit!
Drawing can be a great way to explore your creativity. If you’re interested in more, check out tutorials on drawing other animals like cows, goats, bears, and foxes.
And if you are ready to step up your art game, here’s an article on how you can figure out what your drawing style is.
Don’t forget to Pin it for later!

How To Draw A Bull
A step by step lesson for how to draw a bull. Learn the basic skills for making a bull when it's broken down into simple steps anyone can learn to draw.
Materials
- pencil
- eraser
- paper
- pencil sharpener
Tools
- Please see the full materials list above the tutorial for details and links.
Instructions
- Draw the Hind End Of The Bull
- Make The Shapes For The Body
- Outline The Body
- Draw The Legs
- Add The Hooves And Tail
- Create The Face
- Fill In The Eye Details
- Add Horns And Ears to the Bull’s Head
- Draw The Muzzle
- Create The Muzzle Details