
How To Draw A Bat –Fun and Easy!
Welcome to our easy-to-follow drawing tutorial, where you’ll learn how to draw a bat through eight simple steps.
We designed this tutorial to make this process easy and accessible for kids.
It’s perfect for those seeking a guide on creating various types of bats – a realistic, charming cartoon or spooky vampire bat.
These flying creatures have captured young artists’ imagination, especially with their association with Halloween.
However, the beauty of drawing them is that they’re a fantastic subject any time of the year, not just during the spooky season.
So, let’s get your drawing supplies ready!
With just a sheet of paper and a few other tools, you can dive into these easy-to-follow instructions and bring this creature to life.
If you want a Halloween time look, when you are finished creating your drawing, add a night sky with a full moon to draw a spooky scene that would be perfect for vampire bats.
Did you know bats are nocturnal animals which means they are most active at night?
For those intrigued by these mysterious animals, don’t miss the additional fun facts and information at the end of this post.
Drawing Supplies You’ll Need
- Pencil
- Eraser
- Sheet of paper
- Pencil sharpener
With these simple and affordable supplies, you’re all set to start your drawing journey.
If you enjoy this tutorial, you’ll also love our guides on drawing a cute frog and a fish! And these Halloween color by number pages.
How to Draw A Bat Step By Step Guide

Step 1. Draw the Head and Eyes
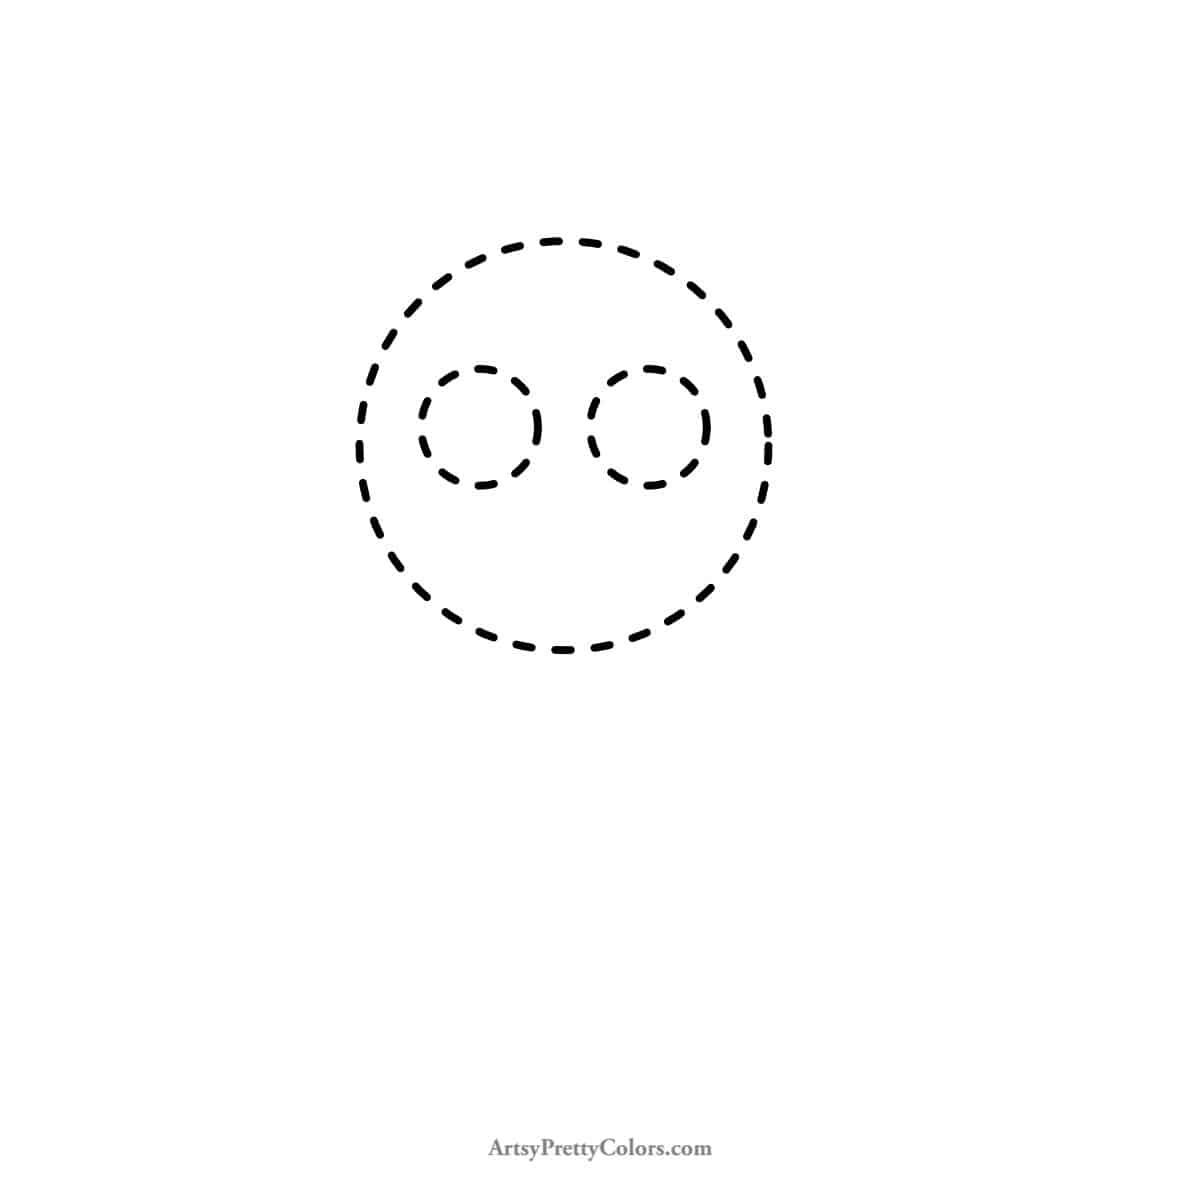
Bats are pretty easy to draw because they’re made of simple shapes. Start with a big circle for the head.
Then, for the eyes, draw two smaller circles inside.
Step 2. Add the Nose, Mouth and Ears

Now, let’s make the ears by drawing a rounded triangle on each side of the head.
For the nose, put a small oval in the middle of the face. Then, draw a happy, curved line for the mouth.
Step 3. Create the Pupils and Teeth
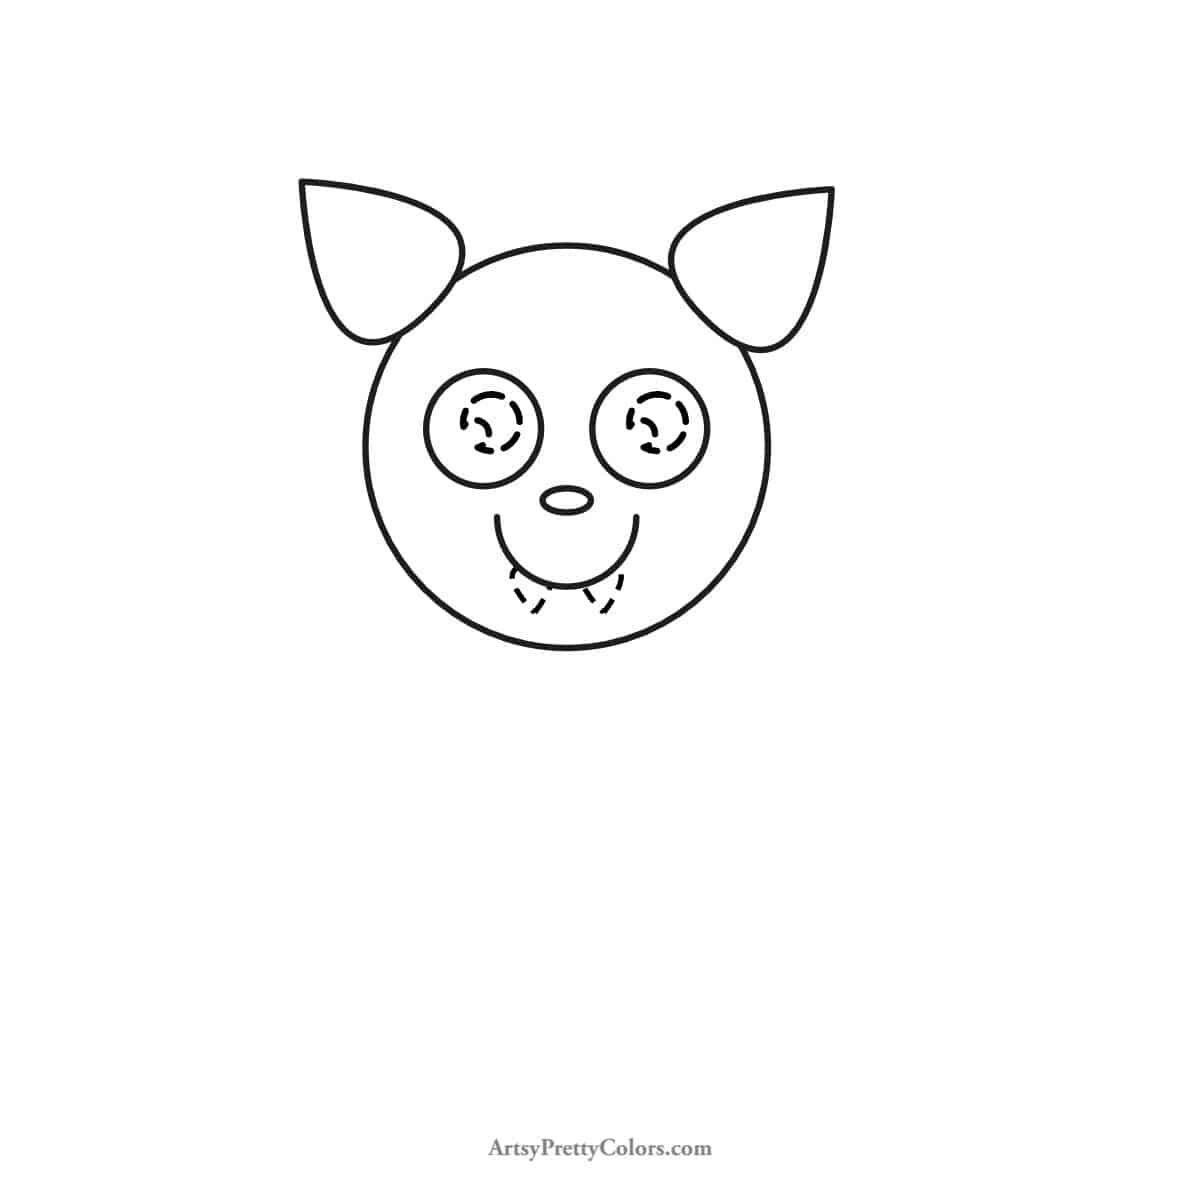
Add a moon shape to make the eyes look alive inside each one.
For the teeth, draw two little triangles on the mouthline.
Step 4. Form the Body

Connect a small circle to the top of the head to make the body.
Step 5. Draw the Wings

For the wings, draw a big curve from the head’s side, reaching up to form the wing’s tip.
Then, add a horizontal line for the bottom of the wing and connect it back to the body.
Do the same for the other wing.
Step 6. Detail the Wings
Add some flair to the wings by drawing semi-circle lines along the bottom.
Step 7. Tidy Up the Drawing Lines

Erase any extra lines on the wings to clean up your drawing.
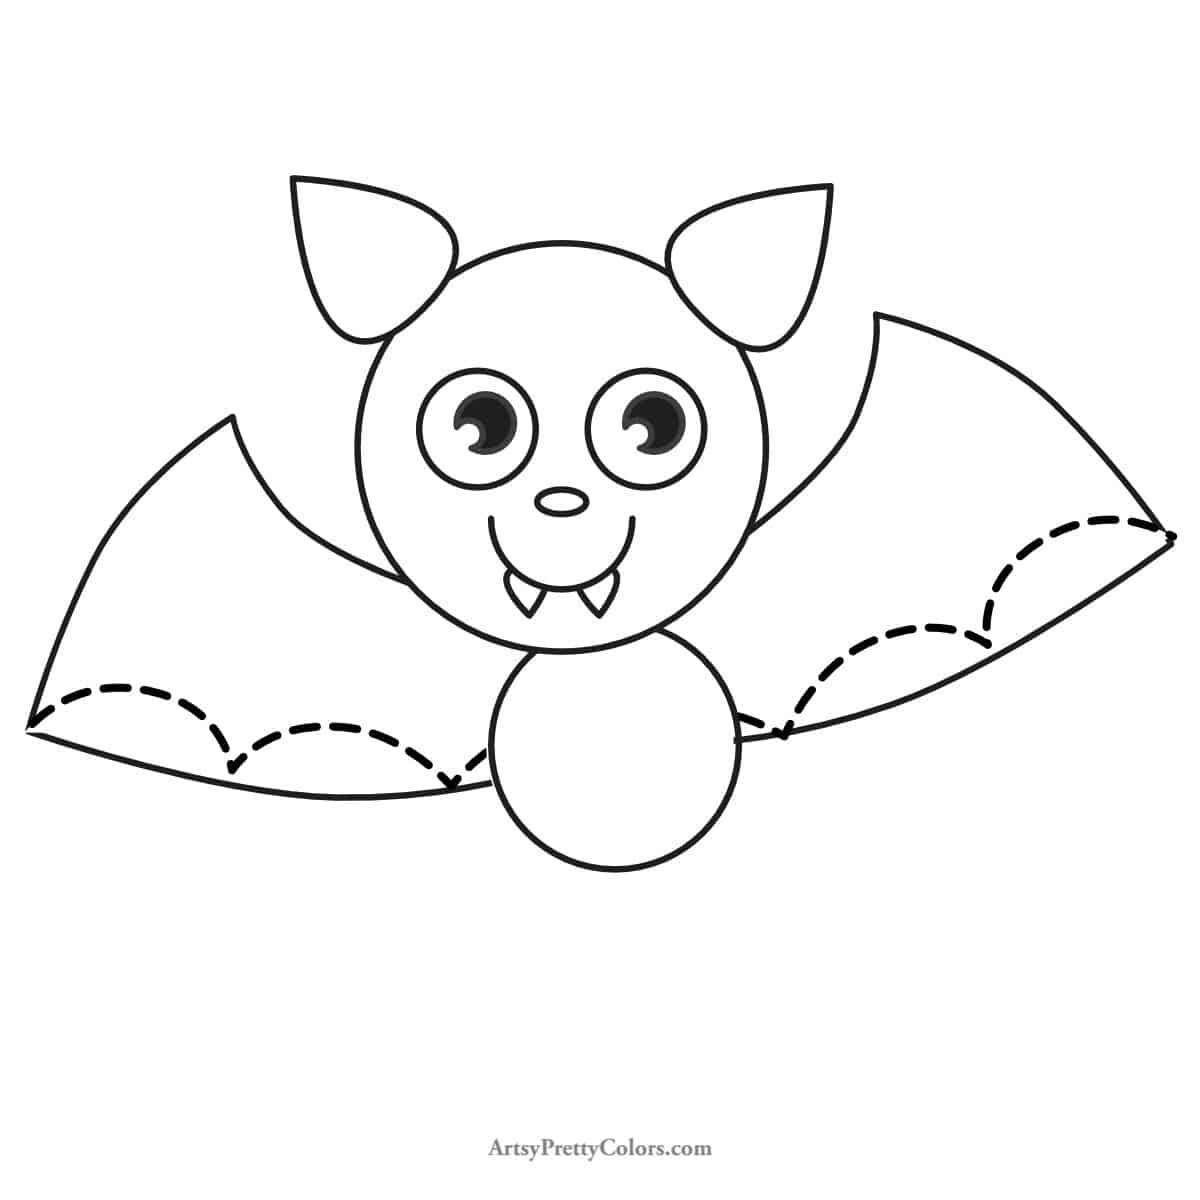
Step 8. Draw the Bat’s Inner Ears, Upper Body Details, and Feet

Add some details to the ears by drawing a smaller curve inside each one.
Then, for the body, add a small circle below the bat’s head.
Finish off by drawing the feet with two triangles at the bottom of the body.

Bat Facts for Kids
- There are more than 1,000 types of bats around the world.
- Vampire bats are real but mostly live in places like southwest Texas and feed on animals, not people.
- They can see during the day but way better at night when they go out to find food and hang out with other bats.
- Bats are unique because they’re the only mammals that can fly. They can flap their wings and fly through the sky, unlike flying squirrels, which can only glide.
Drawing is a fun way to learn about these fascinating creatures. Enjoy the process!
Don’t forget to Pin it for later!

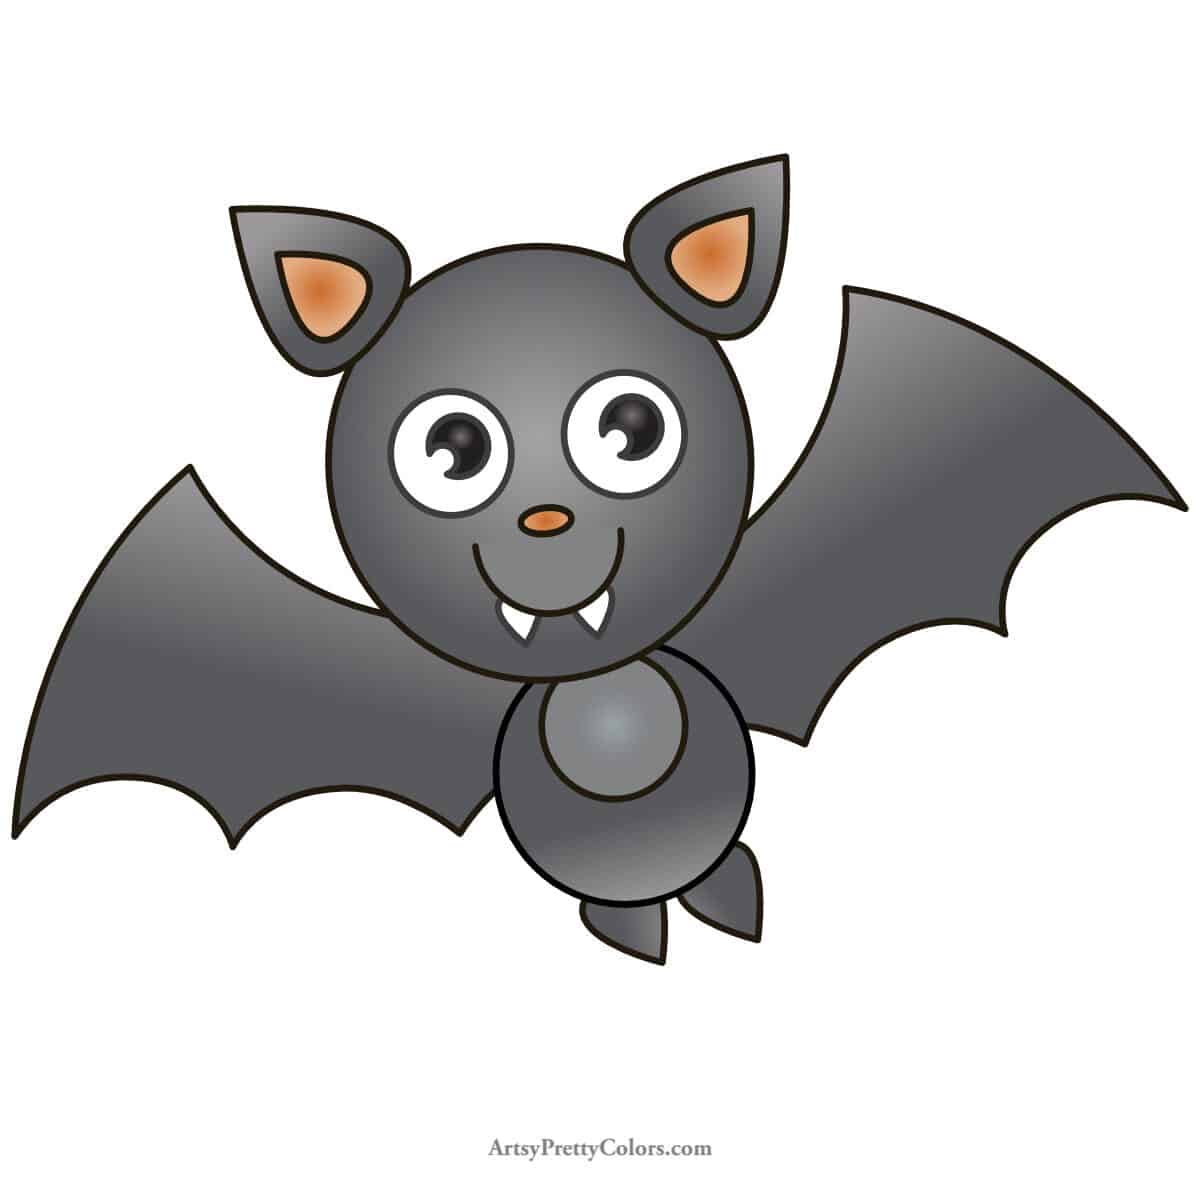
How to Draw A Bat –Fun and Easy
A simple tutorial for how to draw a bat. Learn how to draw a this cute flying vampire-like creature in just a few easy steps with this detailed lesson.
Materials
- Pencil
- Paper
- Eraser
Tools
- Please see the full materials list above the tutorial for details and links.
Instructions
- Draw the Head and Eyes Using Circles
- Make the Bat’s Nose, Mouth and Ears
- Draw the Pupils and Teeth
- Form the Body By Drawing A Circle
- Draw the Wings, Start With a Curved Line
- Detail the Wings
- Clean Up the Lines in the Wings By Erasing The Inner Lines
- Draw the Inner Ears, Upper Body Details, and Feet