
How To Draw A Key –In Easy Steps
In this fun lesson, you’ll learn the simple steps for how to draw a key.
Drawing can be really easy, especially when we break objects down into simple shapes.
That’s what we’re going to do today with a key. Yep, a key!
You might think all keys look the same, but there are so many types – like the ones you use to unlock the door to your house or start a car.

Before we start, did you know some keys are golden? Imagine having a key that unlocks a chest full of treasures. Exciting, right?
If you enjoy drawing, you can also try your hand at sketching a hammer, a bolt of lightning, a glass jar, or even an alarm clock after this.
Supplies For Your Key Drawing
- Sheet of paper
- Pencil
- Eraser
- Pencil sharpener
It’s a good idea to have a few sheets of paper on hand in case you want to redraw a step.
Optional Materials
- Black pen
- Crayons
- Markers
- Colored pencils
Ready to sharpen your drawing skills? Let’s go!
How To Draw A Key: Step By Step Tutorial

Step 1. Draw The Head

Start by drawing a circle for the top. This is the part of the key you hold!
Step 2. Make The Key’s Blade

Next, draw a rectangle for the blade, which is the long part of the key.
Attach it to the right side of the circle you just drew.
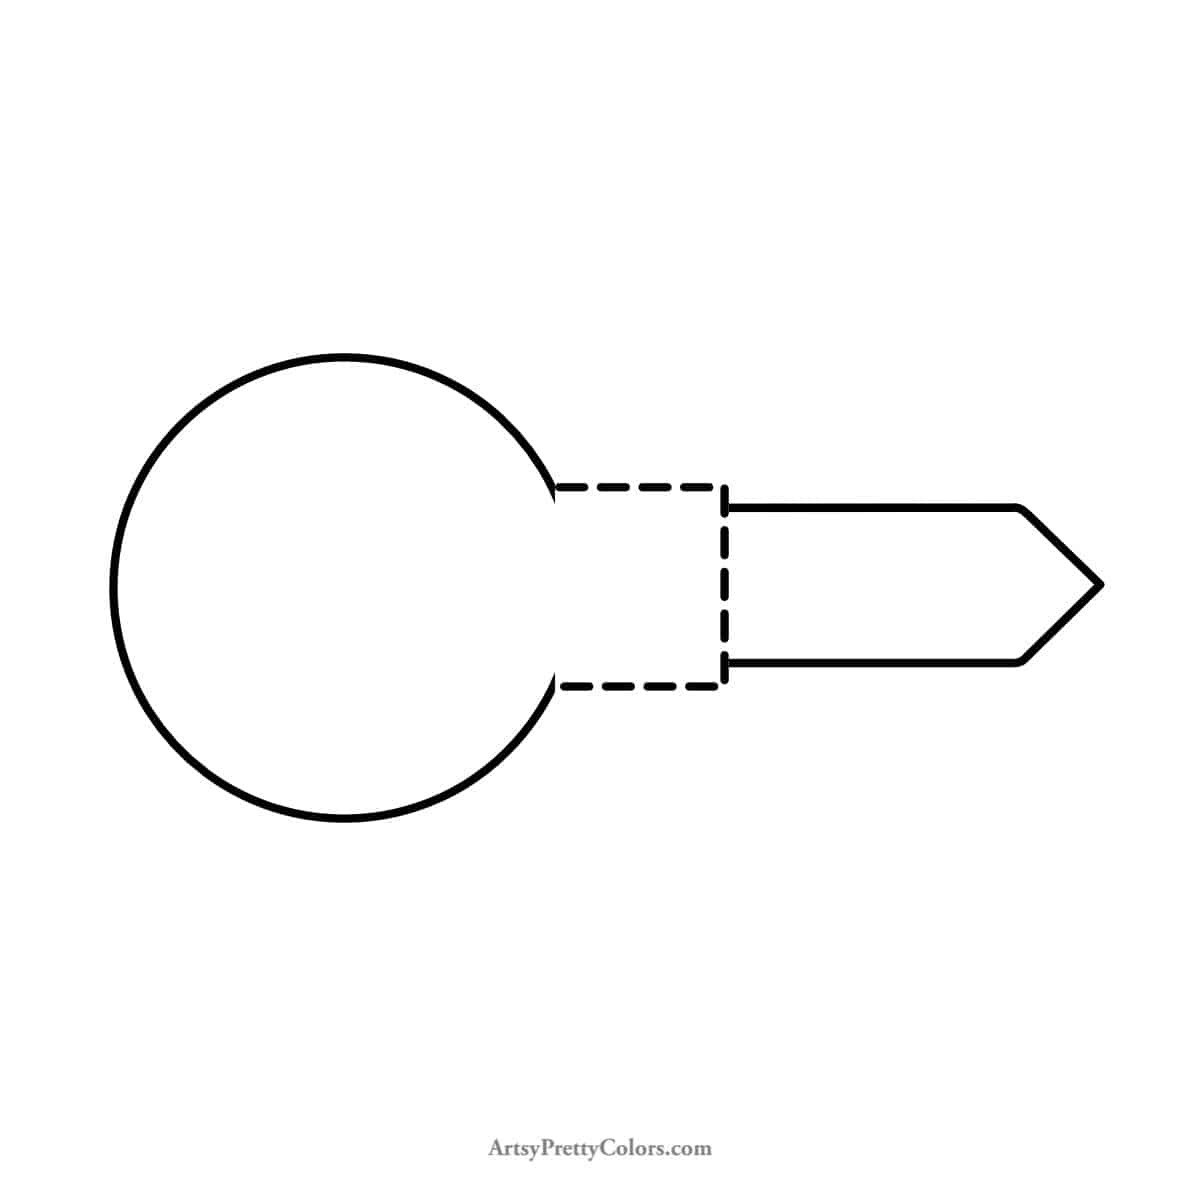
Step 3. Draw The Tip

Time to erase the bottom line of the circle (the key’s head) you drew earlier.
Then, draw a small triangle at the end of the rectangle for the tip of the key.
Step 4. Create The Shoulder
Now, let’s add some width to the top of the blade.
Erase the line between the blade and tip, and draw two short lines on the sides, just a bit outside the blade.
Connect them with a vertical line to make a little indent before the ridges start.
Step 5. Form The Ridges
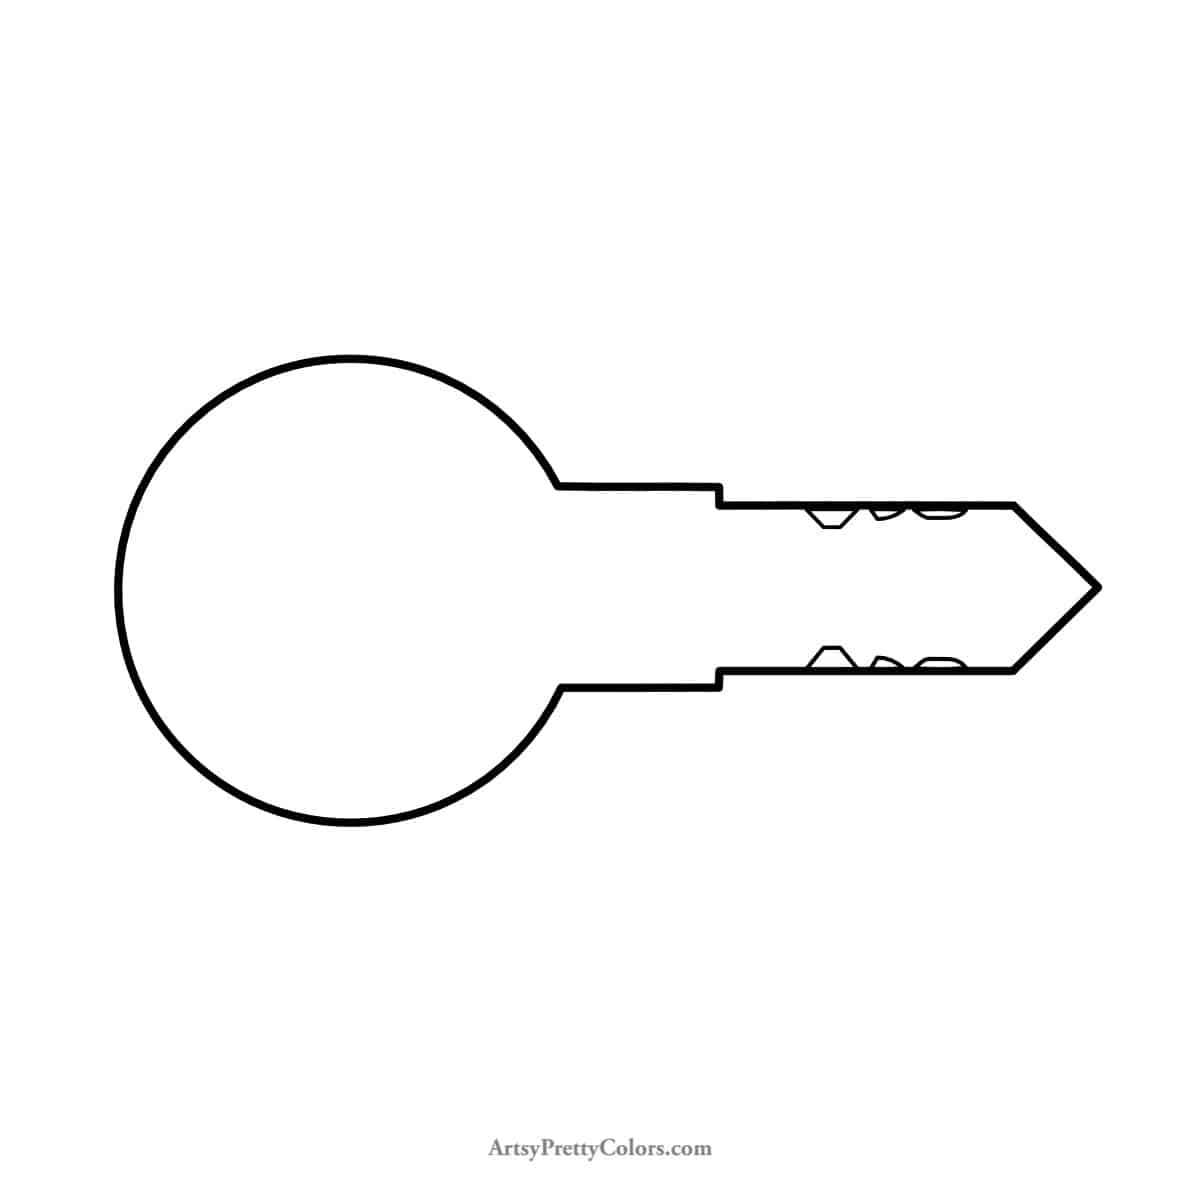
Here comes the fun part! Draw a short line inwards near the top of the blade, then make three bumps.
Whatever you do on one side, do the same on the other to make it symmetrical.
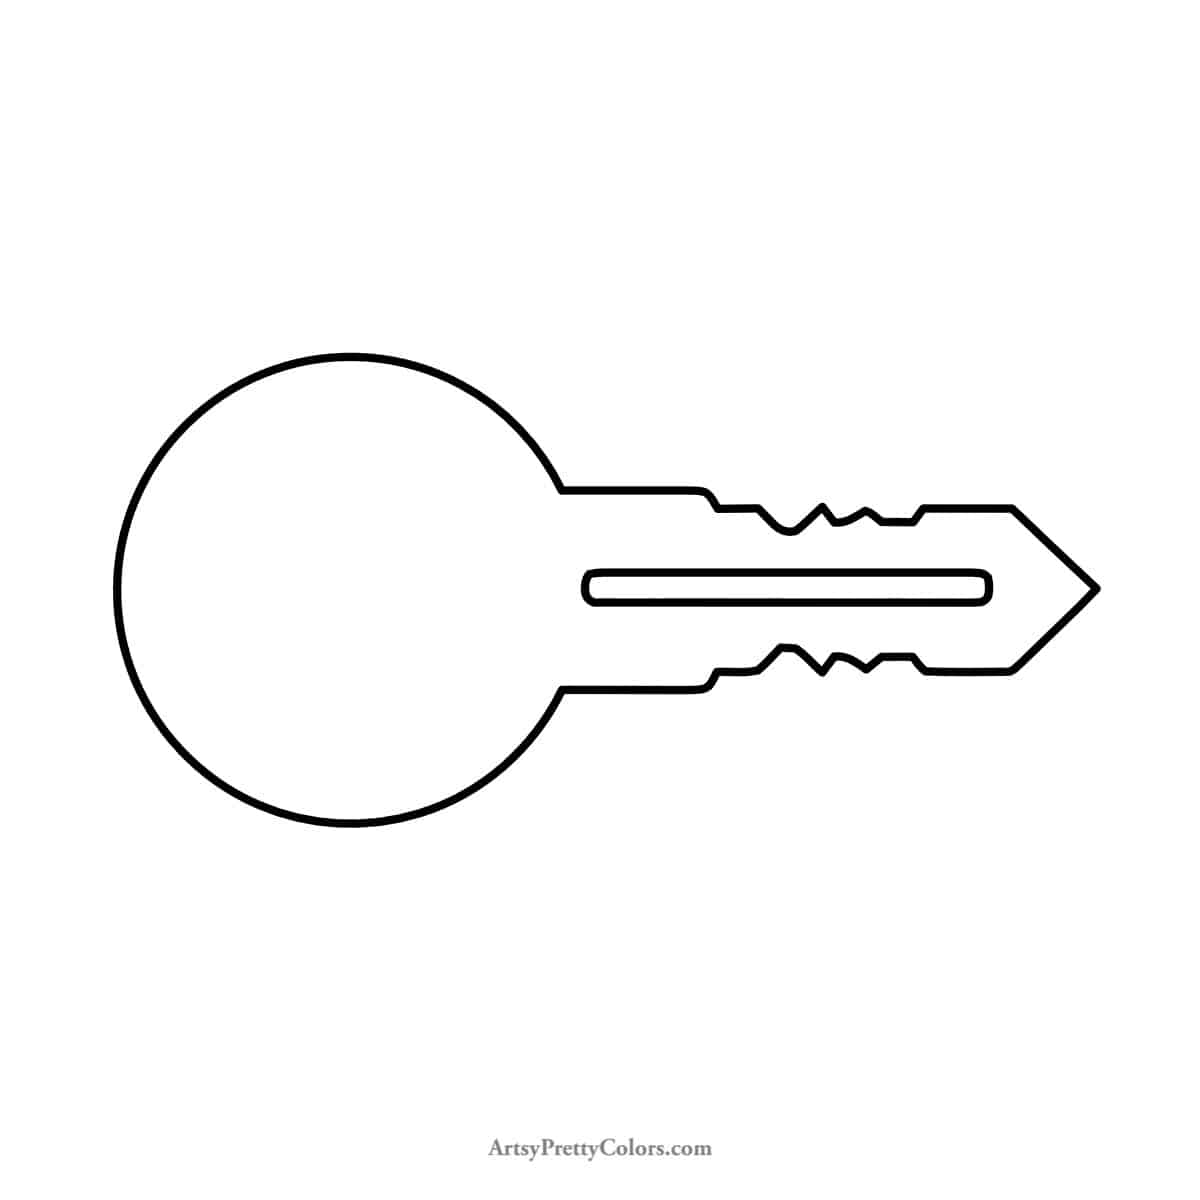
Step 6. Make The Profile Contour

Erase the small rectangle where the head and blade meet. Now, draw two long parallel lines down the middle of the blade but stop before the tip.
Step 7. Round Off The Contour
Erase the small rectangle where the head and blade meet. Now, draw two long parallel lines down the middle of the blade but stop before the tip.
Step 8. Add The Keyring Hole
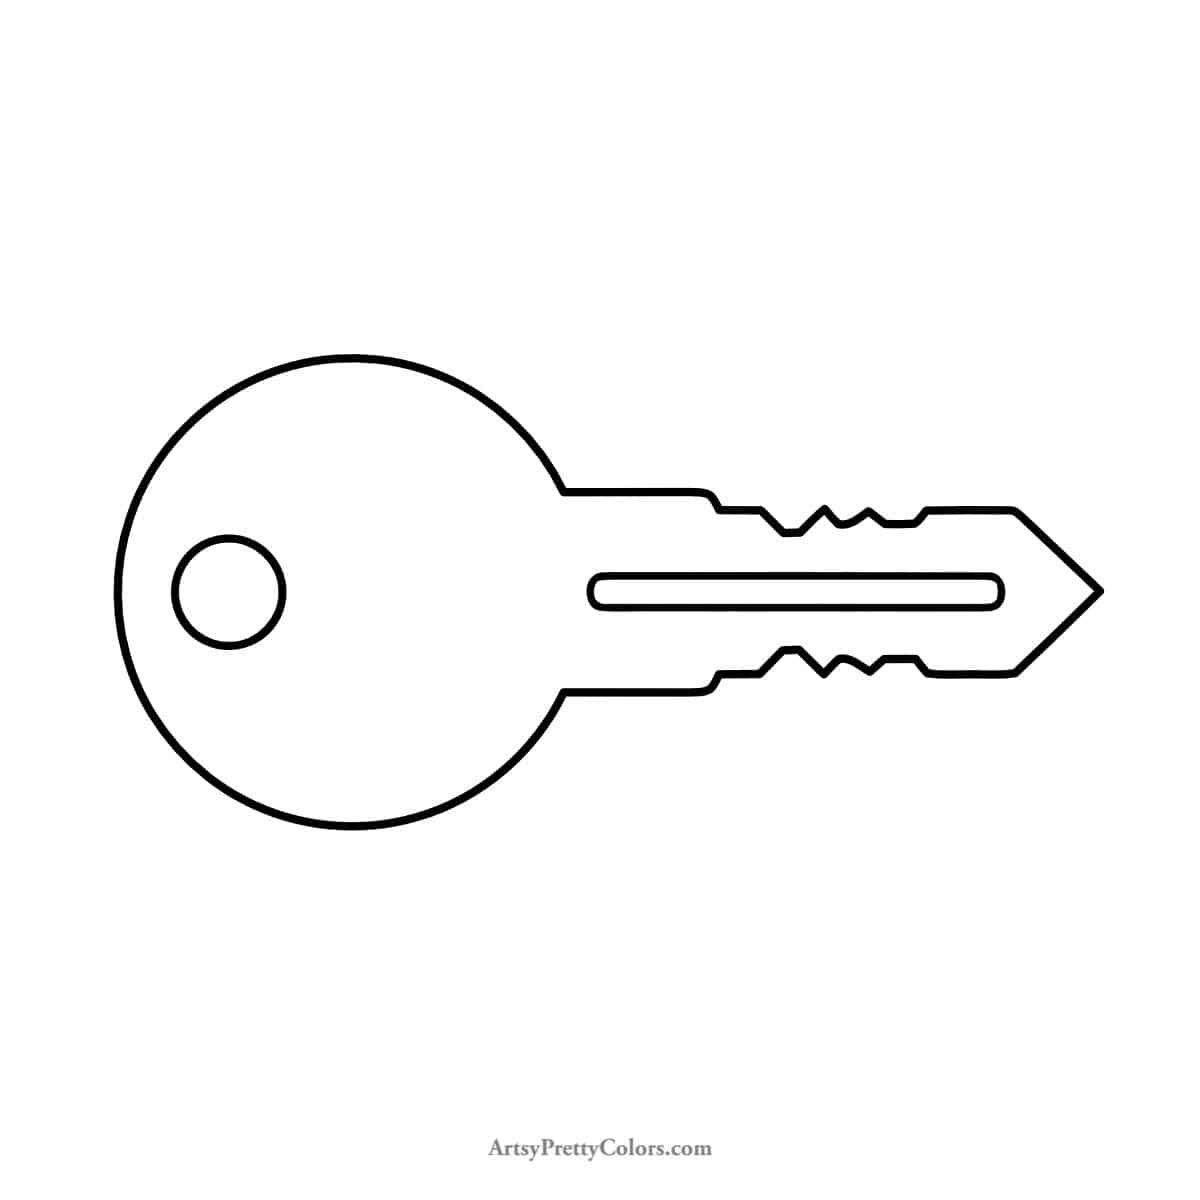
Almost done! Draw a small circle near the top of the key for the keyring hole.
Now, you can add your own touches, like coloring or shading, to make your key look super cool!
And that’s it! You’ve just drawn your very own key. If you had fun, check out our tutorial on how to draw a banner ribbon next.
Don’t forget to Pin it for later!

How To Draw A Key- In Easy Steps
Learning how to draw a key is simple with this drawing tutorial. We'll show you how to use basic shapes to make the shape of key in a few easy steps.
Materials
- piece of paper
- pencil
- eraser
- pencil sharpener
Tools
- Please see the full materials list above the tutorial for details and links.
Instructions
- Draw The Head Starting With A Circle
- Make The Key Blade By Drawing A Rectangle
- Draw The Tip In A Triangle Shape
- Create The Shoulder And Add Lines To The Side Near The Top Of The Blade
- Draw Ridges As A Series Of Bumps
- Make The Profile Contour On The Front Of The Key
- Round Off The Contour At The Parallel Lines
- Draw The Keyring Hole Which Is A Small Circle Near The Top